Tuesday 30 December 2014

I can never be accused of being a fair weather fisherman...

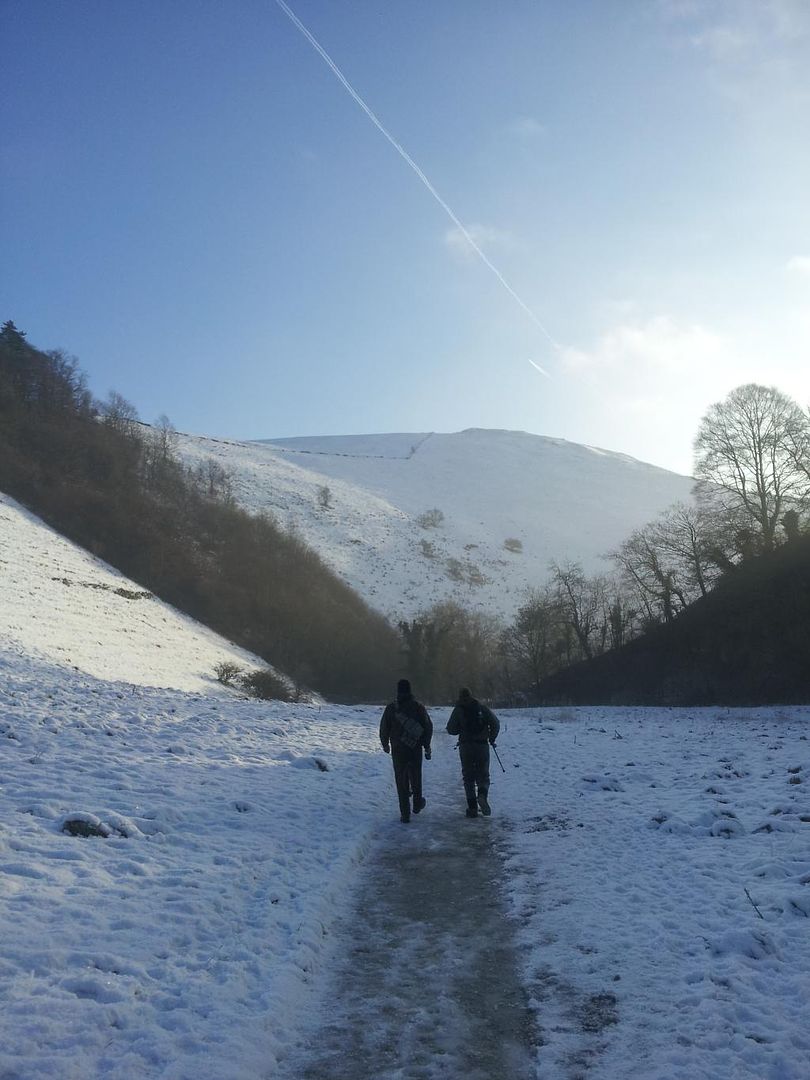
Walking in to Milldale
...especially after yesterday; in fact my last two trips have been during adverse conditions.

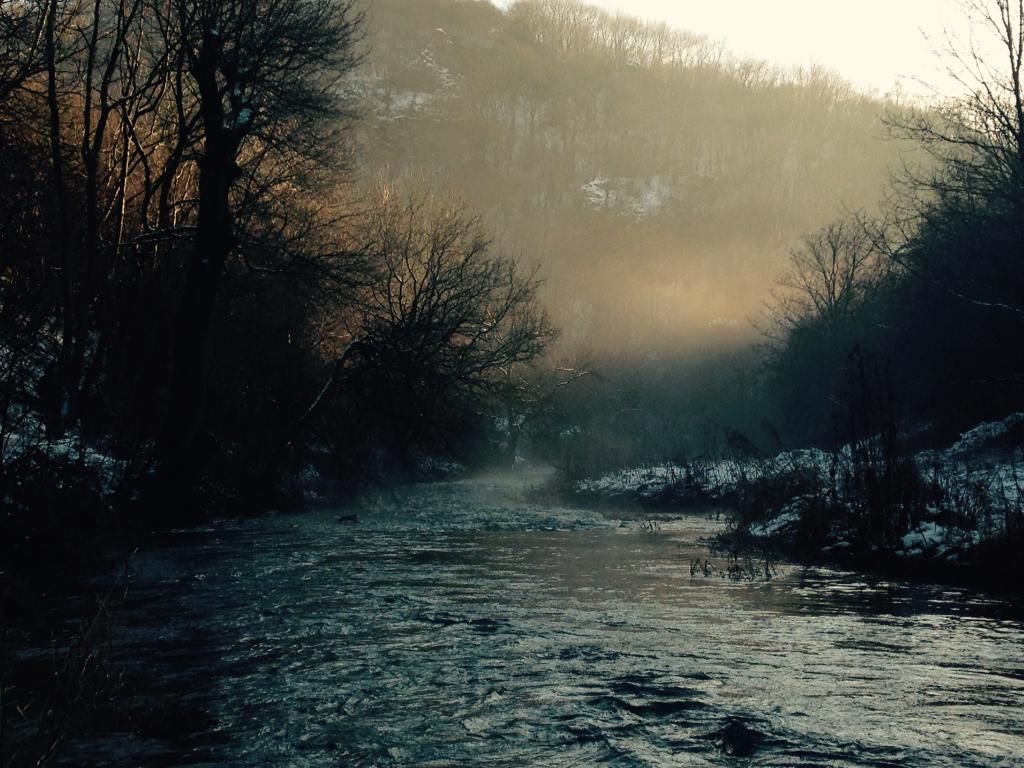
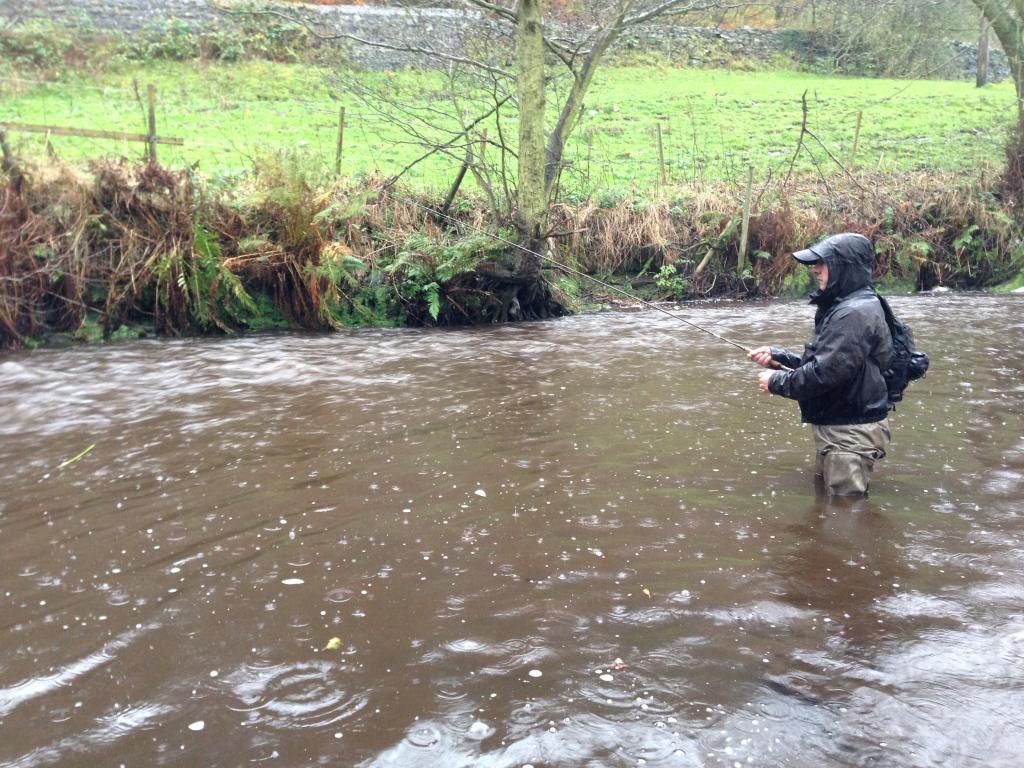
It took thirty miles of driving before I came across any of the snow that covered much of the country. Thankfully the roads were good, even those deep in the dales. I met up with Mike and Ant at Milldale to fish on LADDFA's water on the Dove. Although the river was running a little high it was still clear, continued cold conditions meant we didn't have to contend with snow melt, but the water was still frigid regardless.

The scenery was spectacular, hard frost gripped tight on anything that wasn't already blanketed by the snow, the limestone cliffs decorated with rows of icicles.


We walked to the bottom end of the beat, this served two purposes; firstly it was essential to warm up fully before we started - I have found that a good walk really warms you and sets you up for the day, making the low temperatures bearable - and secondly we got to see all of the available water, earmarking those pools and runs that looked tantalising.


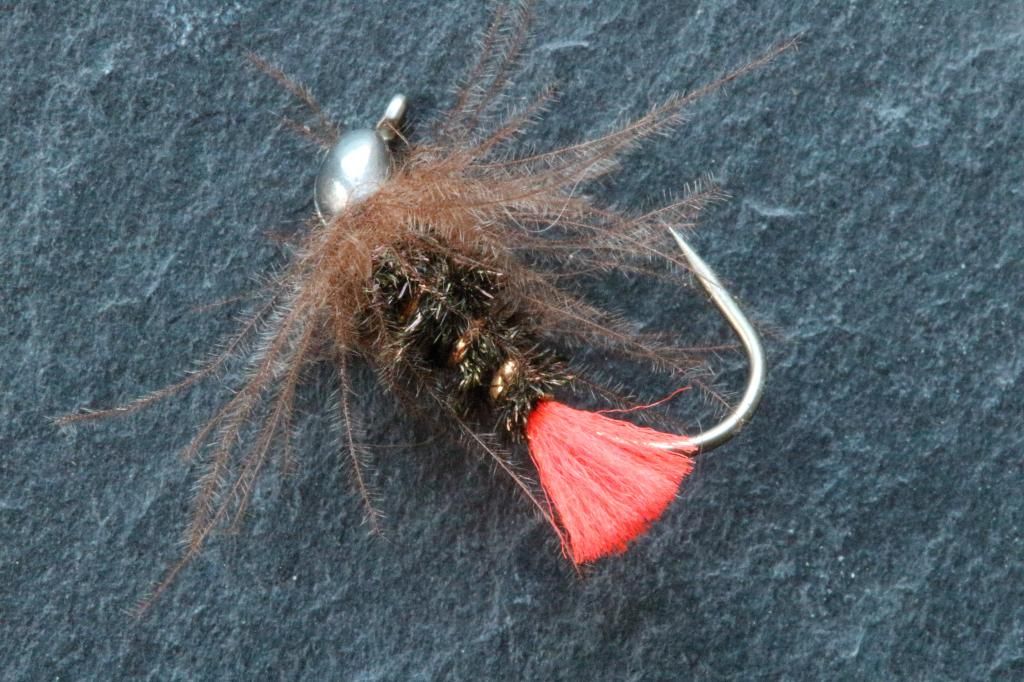
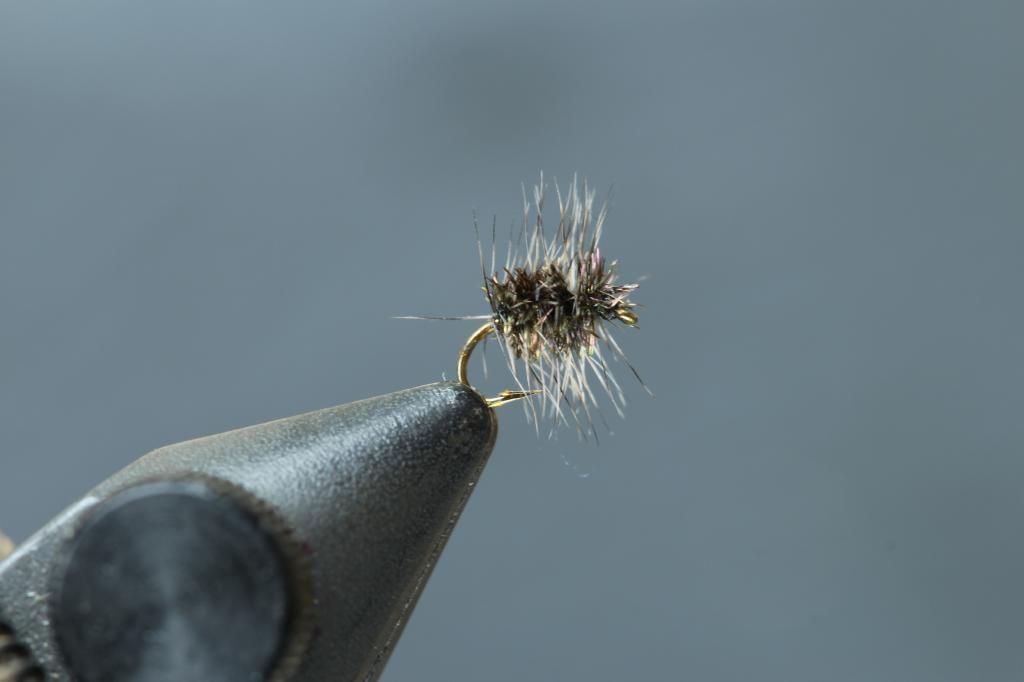
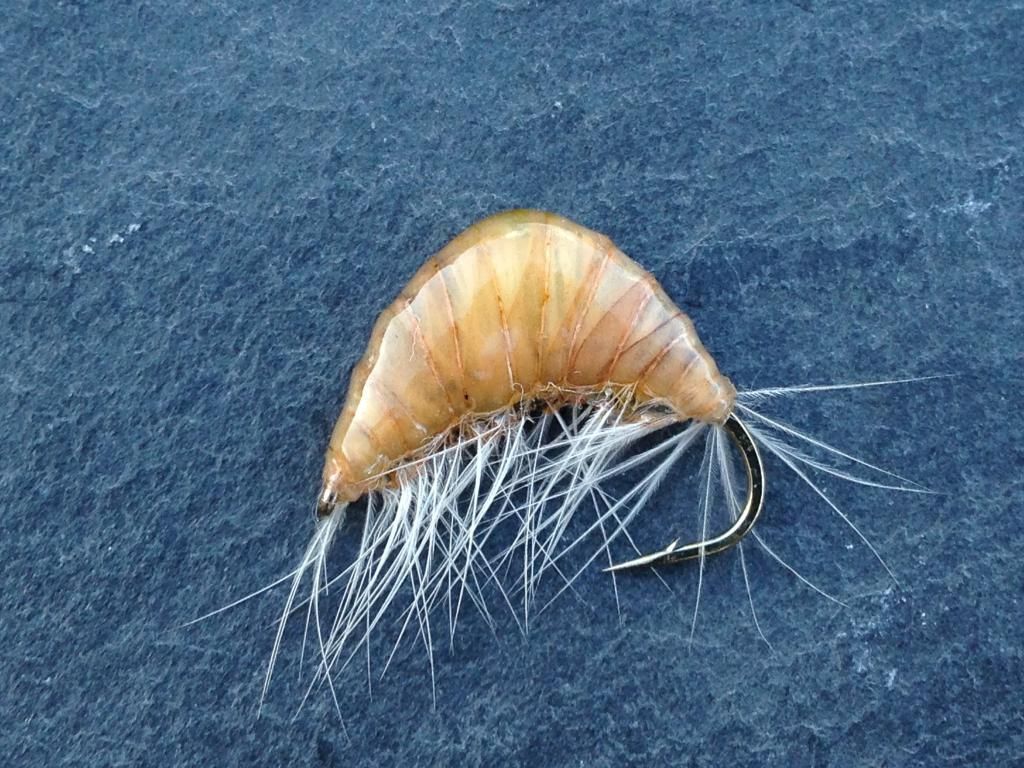
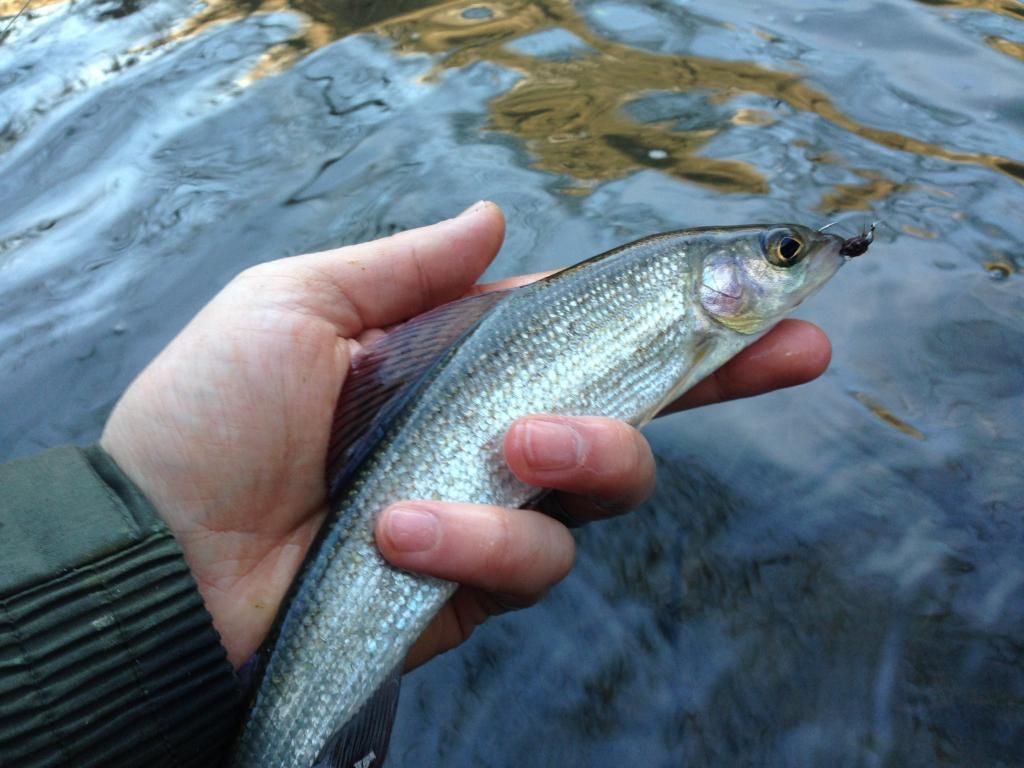
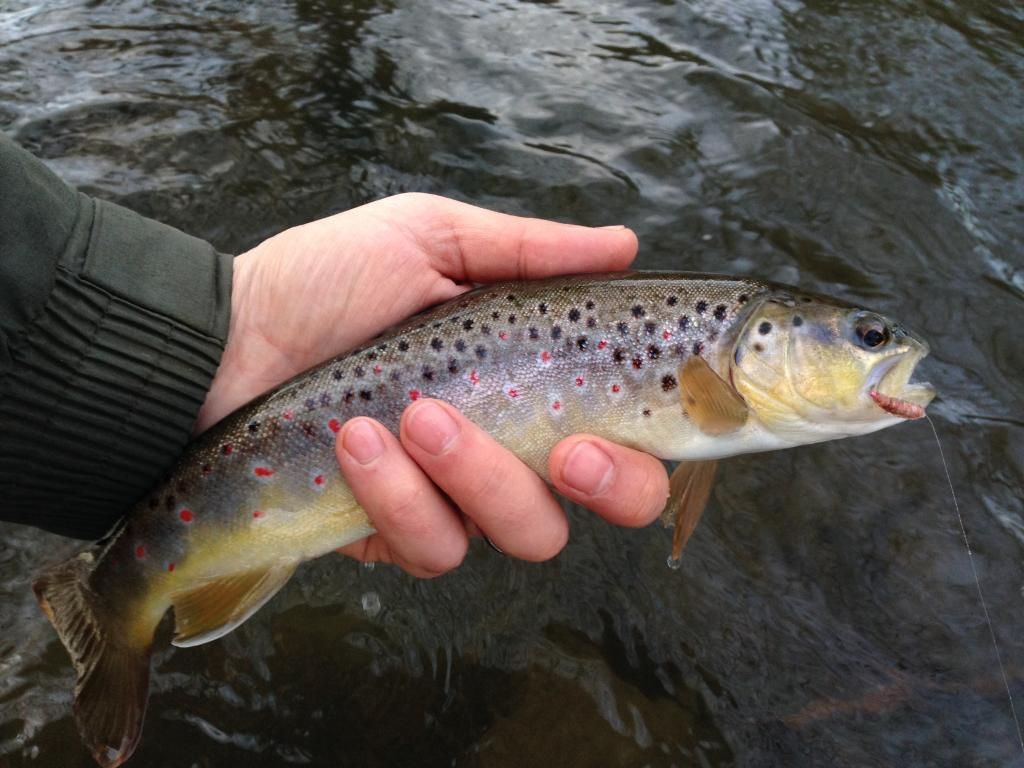
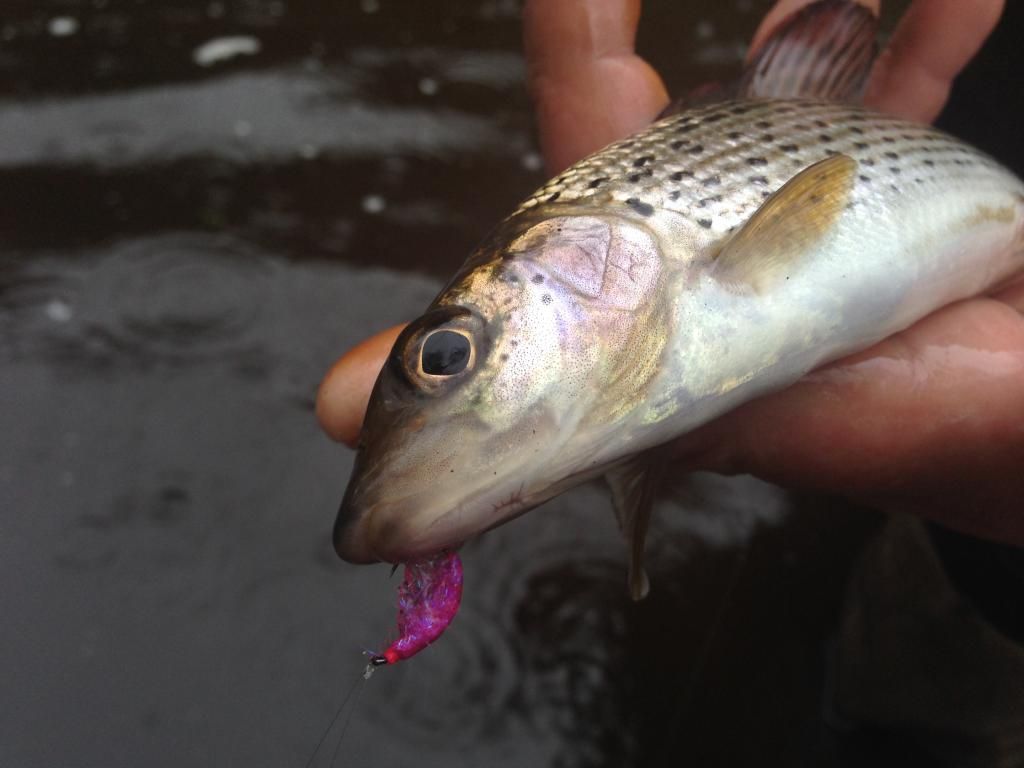
The day proved to be as hard as it was cold. I fared the worst out of the three of us. I took a few hours before I finally caught something, two grayling and a trout was my end total. One grayling and the trout fell to the Utah killer bug and a red-tag jig back fooled the other grayling. Despite the seemingly poor return, it was a delight to get out and meet with friends, but I fear it will be some time before I'm out again.


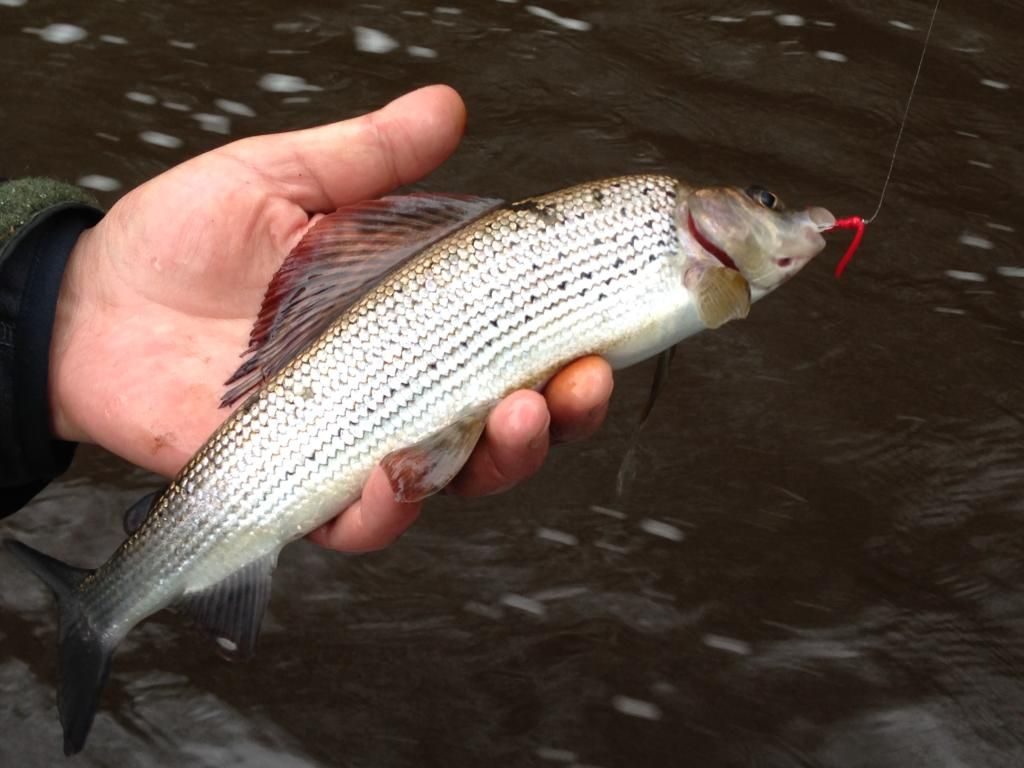
The other fishing trip during adverse conditions was at the beginning of the month. I traveled to Pinkshrimp country and fished the upper reaches of post-industrial river. Heavy rain meant the river had risen considerably, although it was dropping slowly from its peak, the decision was made last minute; the river would be fish-able but not ideal. On arrival the river was high and quite coloured - a dark tea colour. As I was applying floatant to my indicator a small grayling took a fly as they dangled in the current, off to a great start without even starting yet.

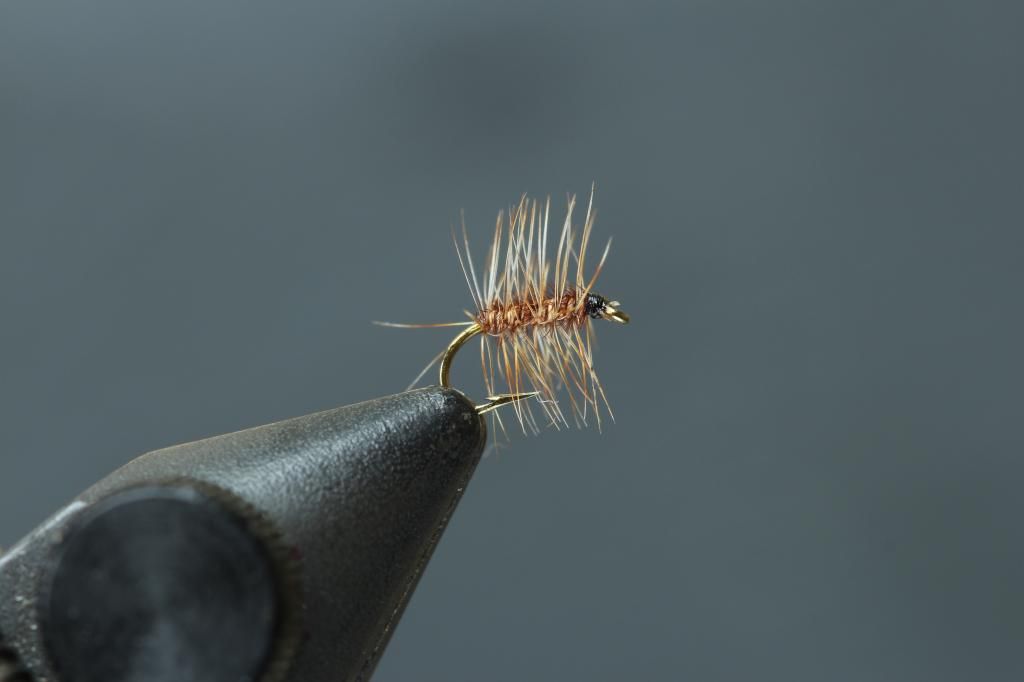
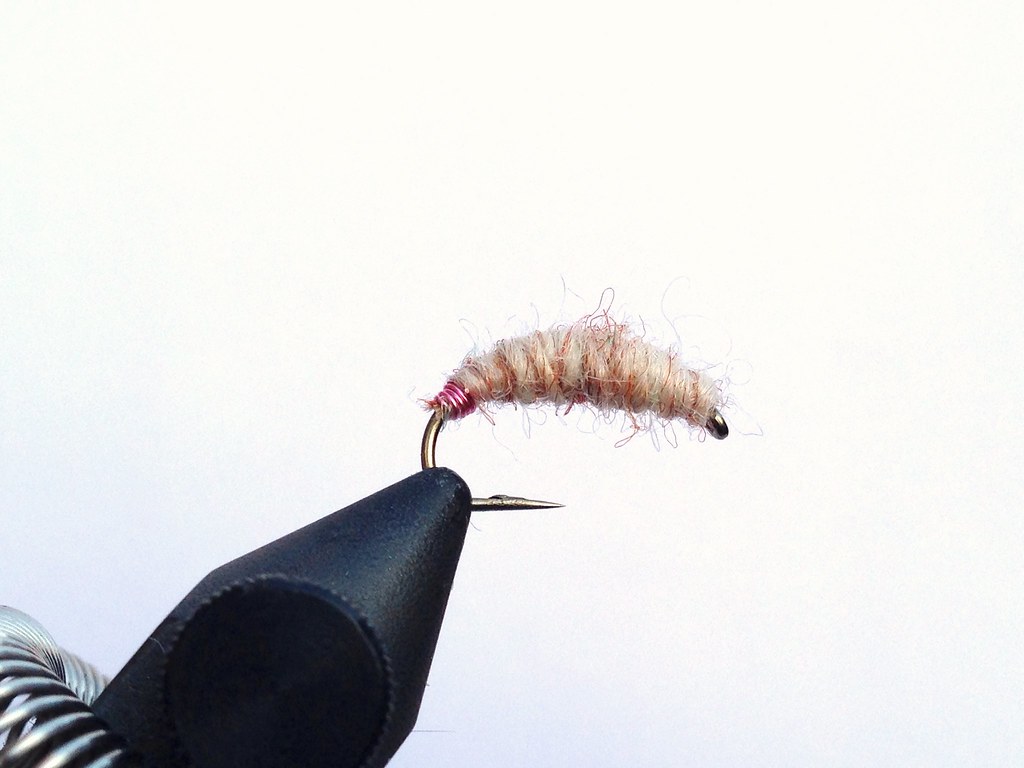
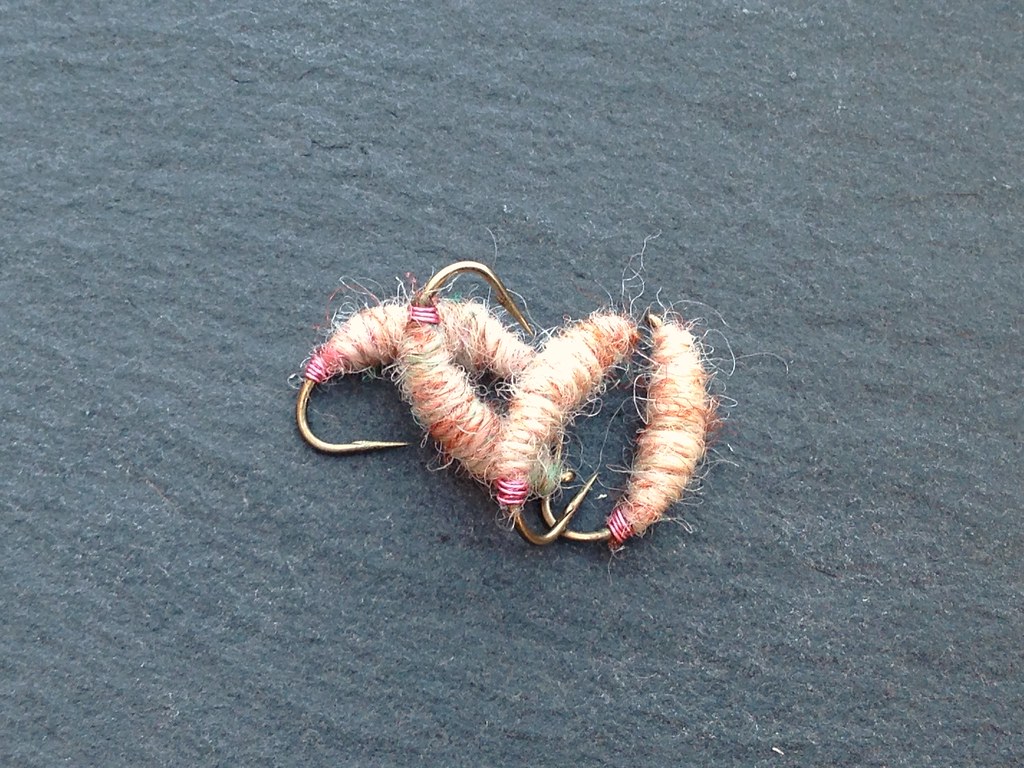
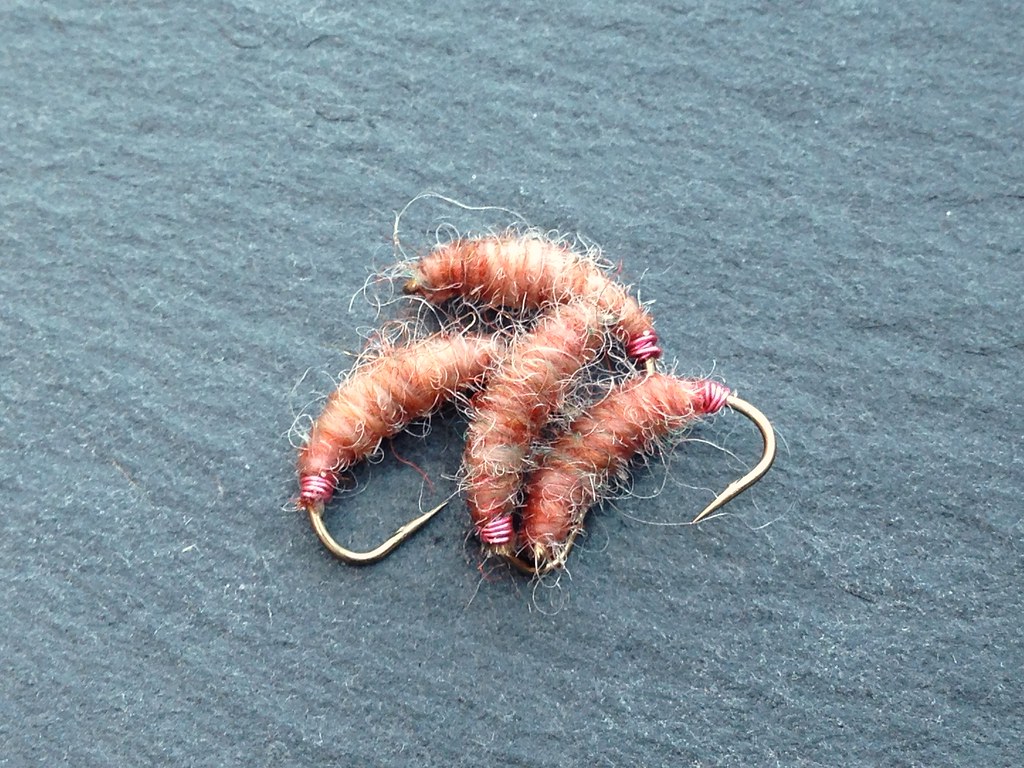
Although not prolific we caught steadily. Successful flies included Danny's San Juan worm, pink shrimps and red tag bead-heads.

In the end I only fished for two and a half hours as the rain returned mid morning, the river rose again and coloured up further halting all action which had been steady up till that point. In total we had around 25 fish; Danny catching the bigger share. There were some nice fish amongst the total including some trout and grayling to a pound.

Danny at the end of the morning, you can see the state of the river which by this
time had become impossible to fish.
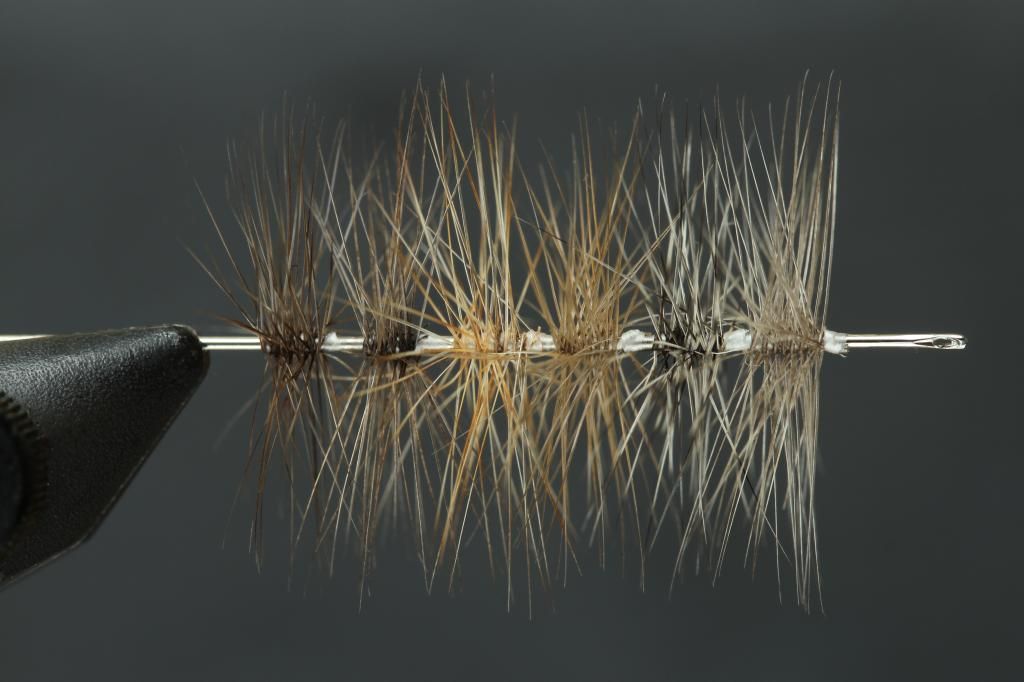
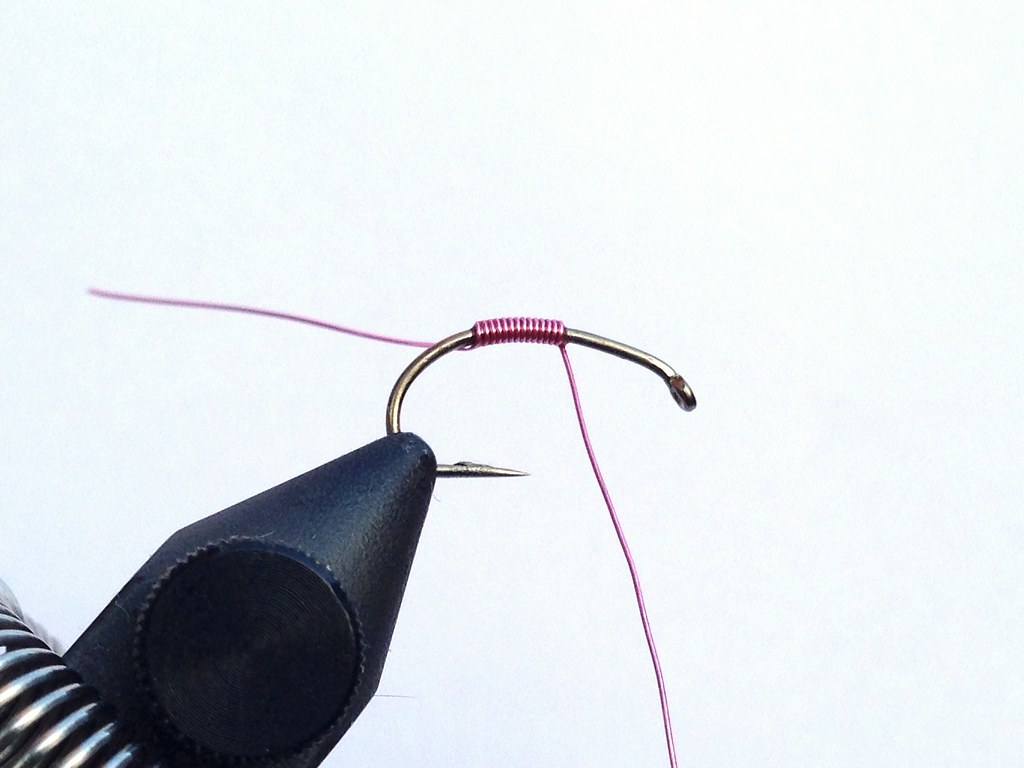
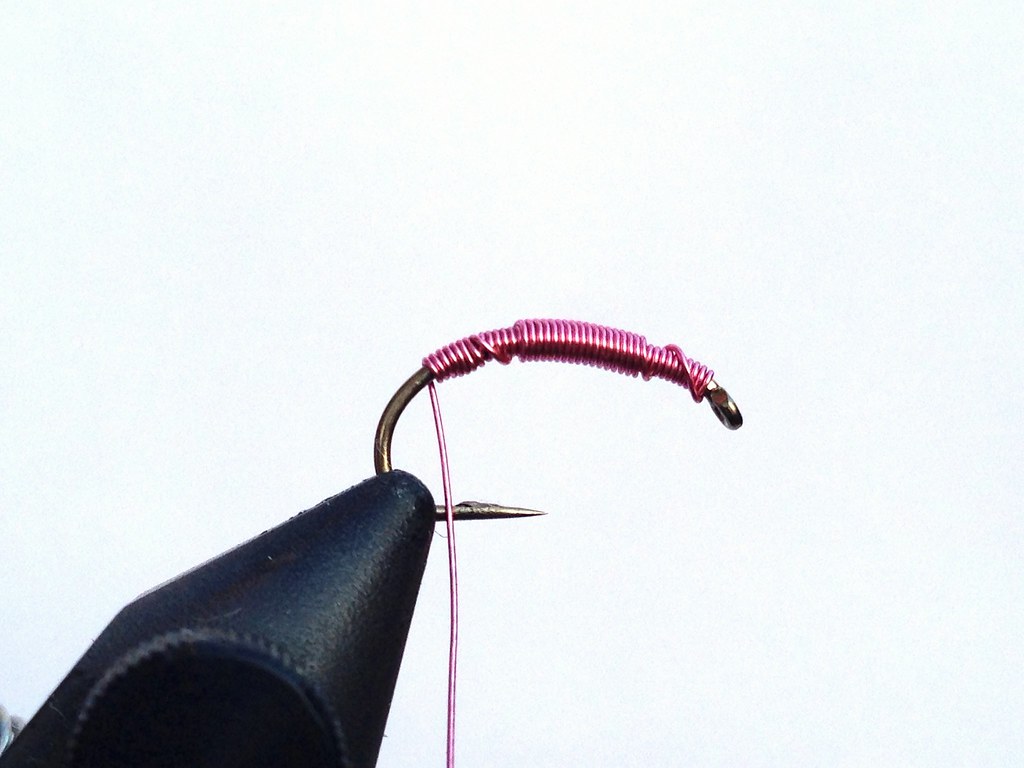
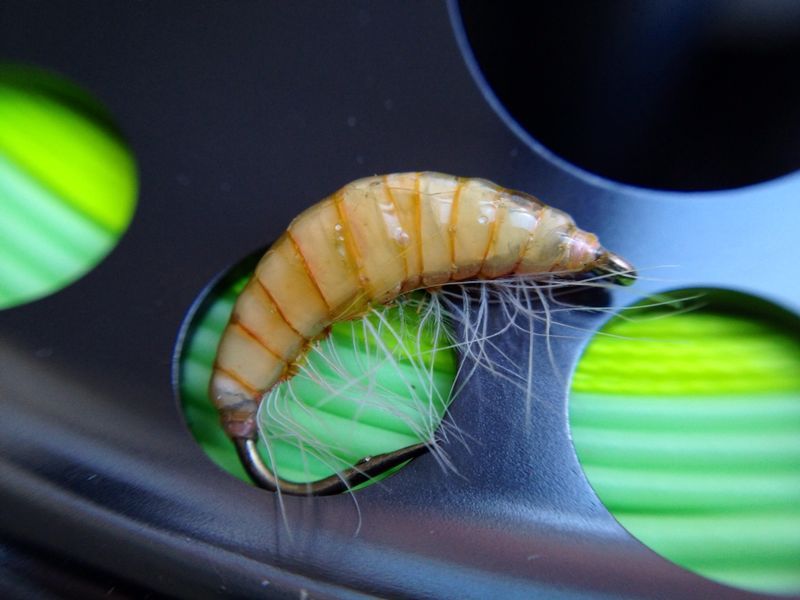
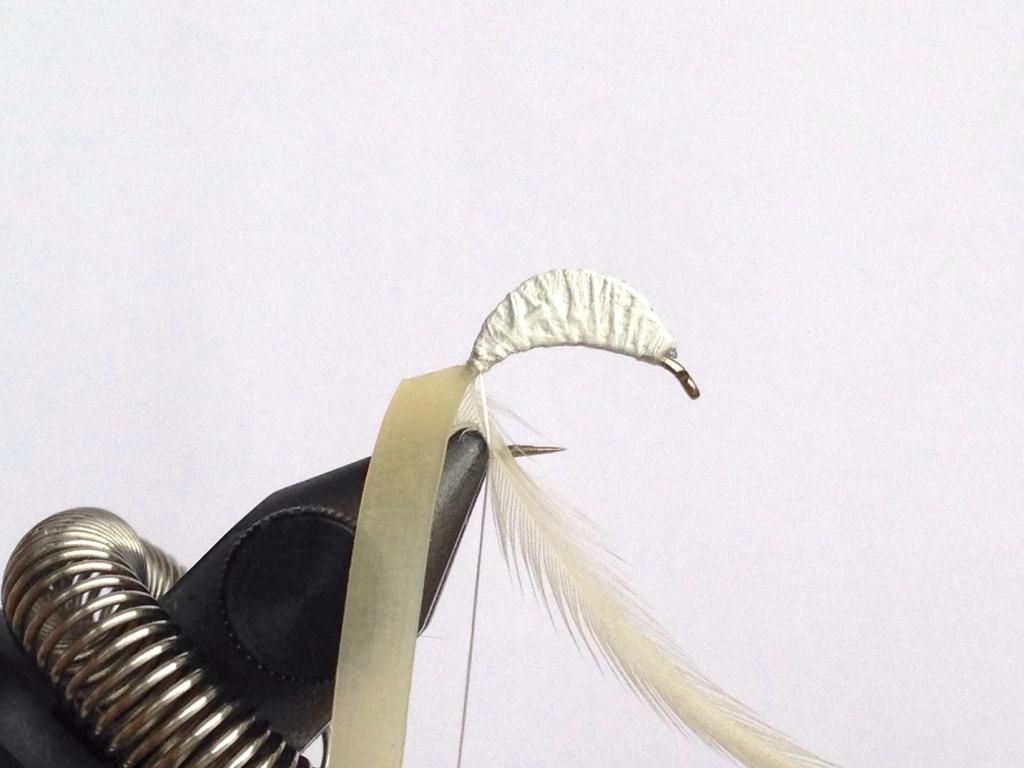
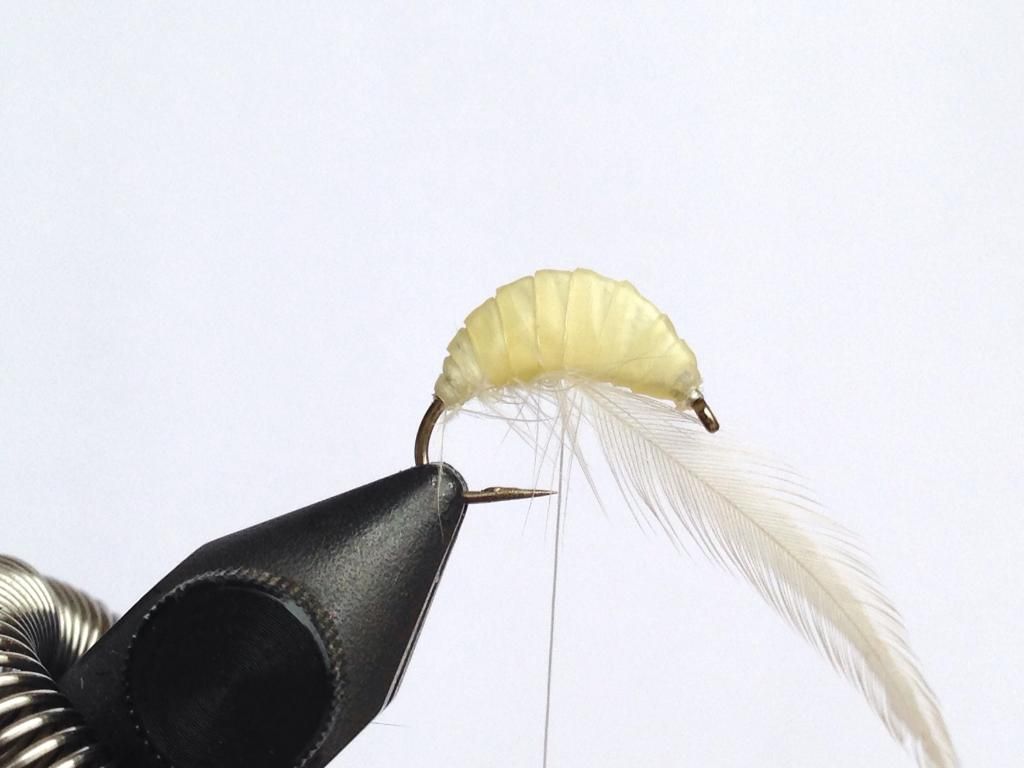
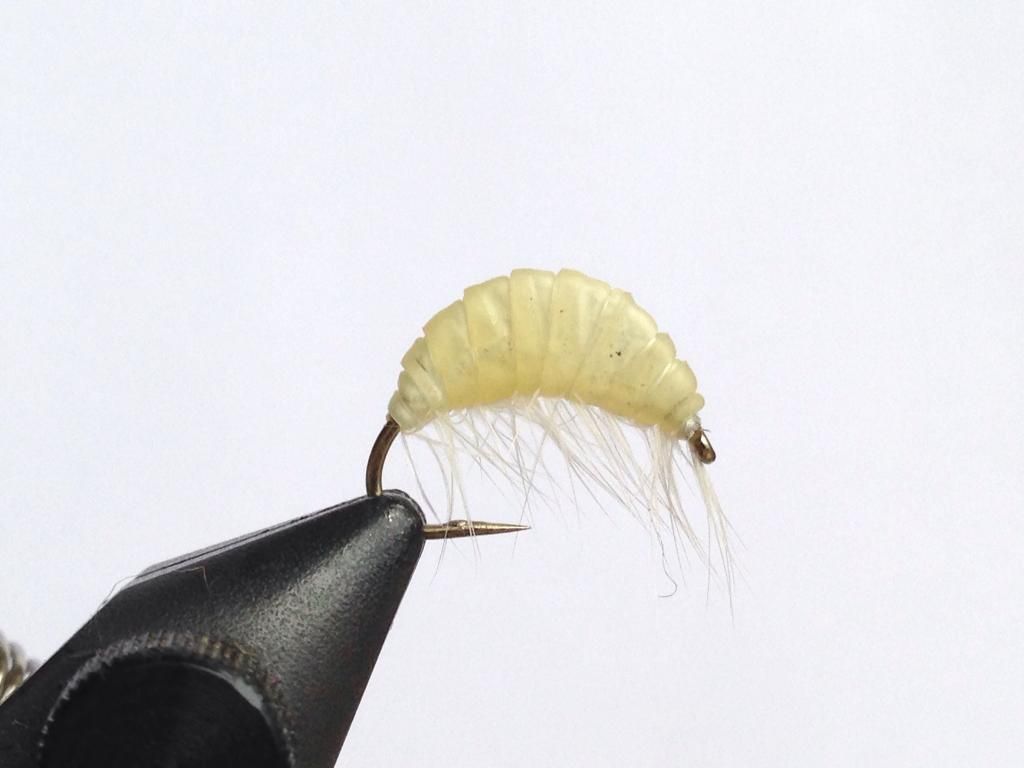
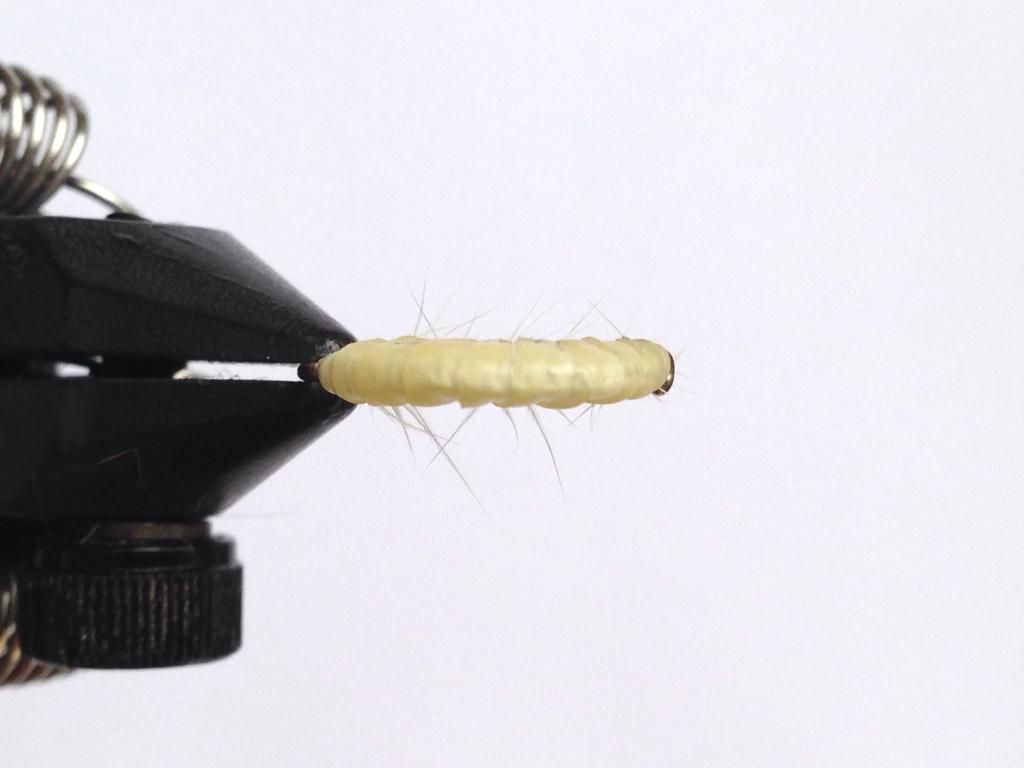
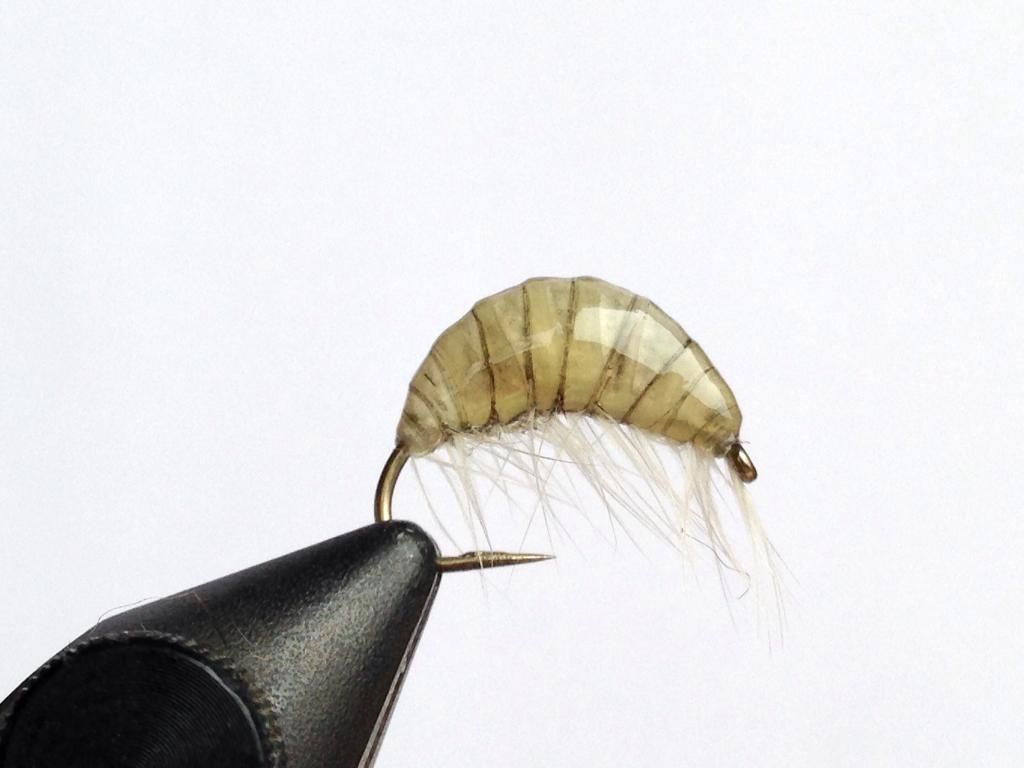
Pink shrimps and......
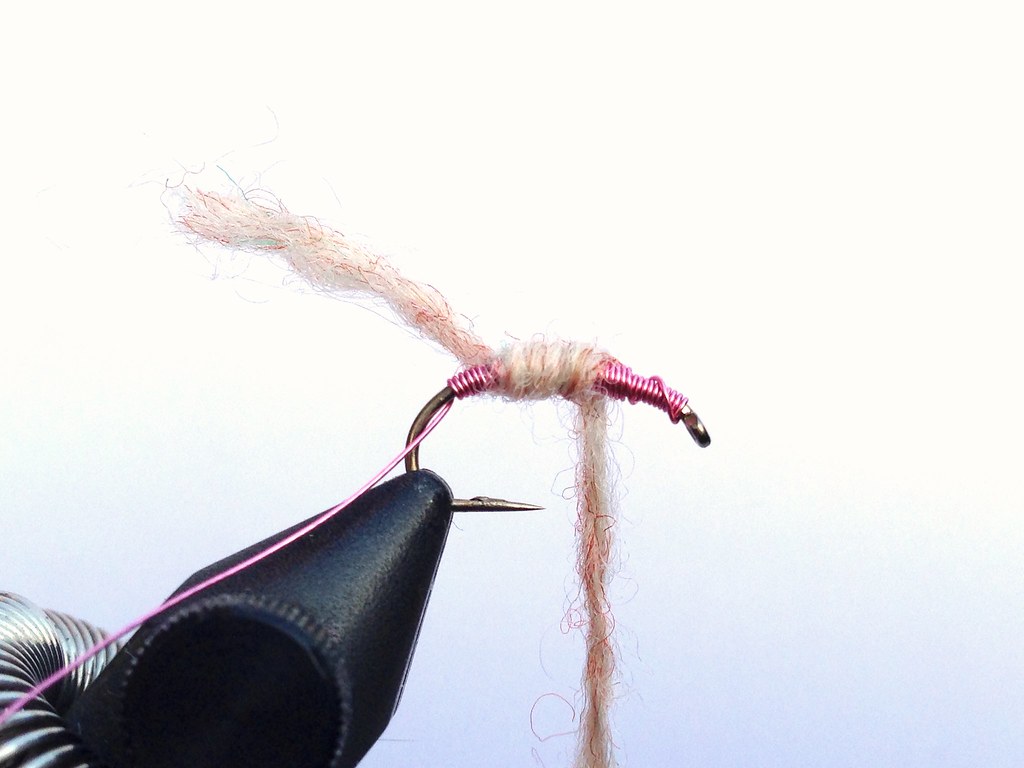
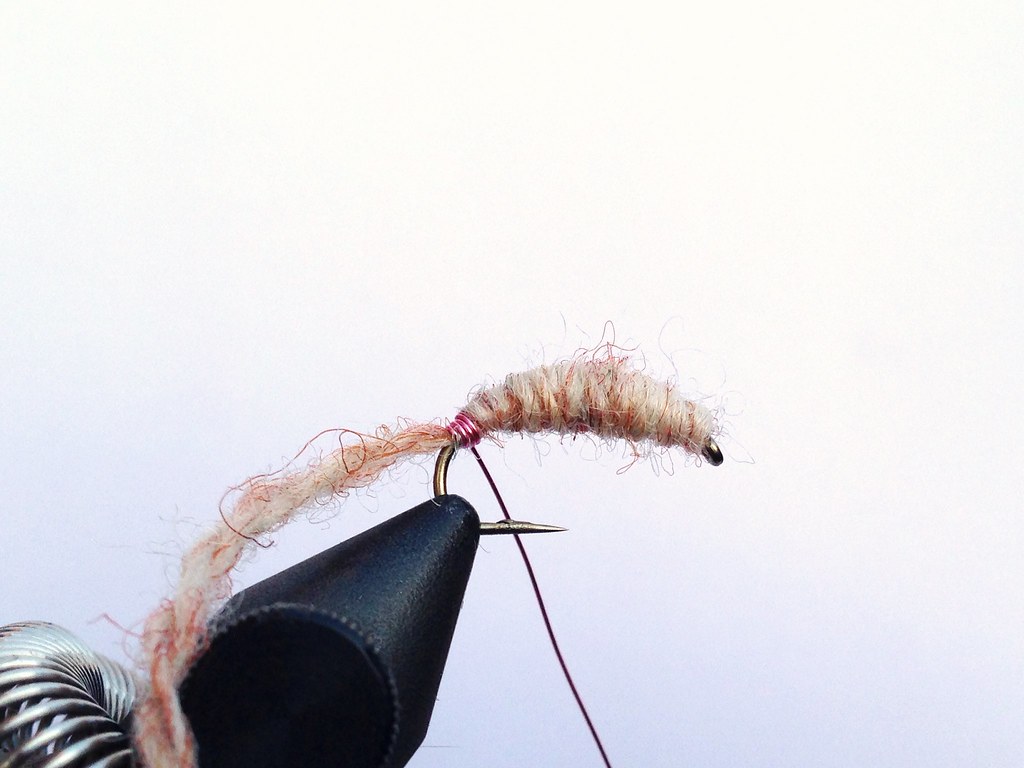
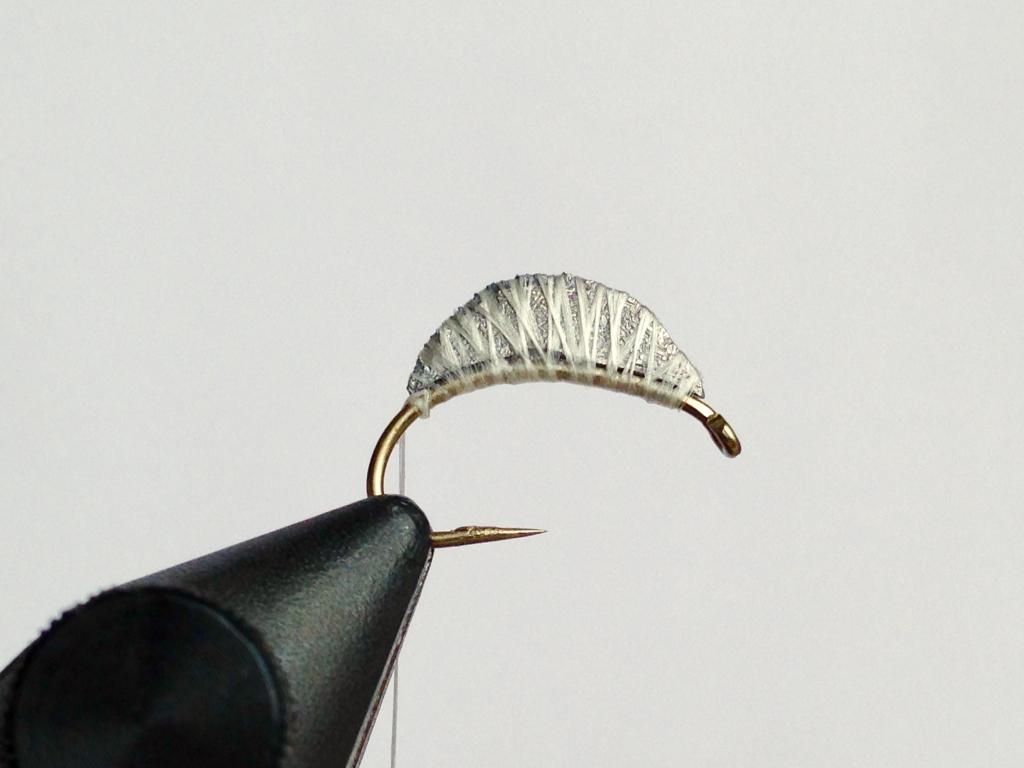
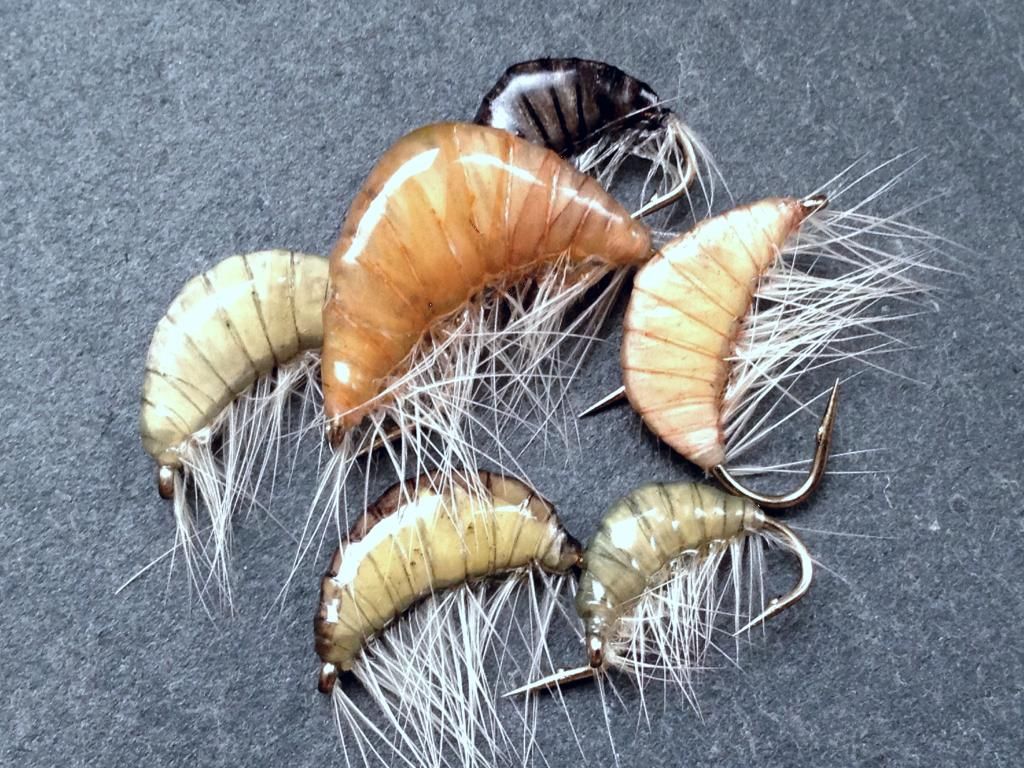
San Juan worms proving to be the consistent catchers that morning.

Monday 22 December 2014

Using Collins Hackle...

Not only do I love the colours that Collins Hackle capes come in, the feathers are great quality. I want to show what they look like when wrapped so I have taken a feather from each cape and wrapped the onto a needle.

L-R Dyed barred dun, Brassy dun, Barred ginger, Med brown dun, Grizzly and Natural barred dun
Although the individual feathers aren't as long as on Whiting capes I have found they will tie the same size range.

To show how small the capes will tie I have tied a Griffiths gnat and a variant. The variant is tied with barred ginger hackle and pheasant tail body.

Griffiths gnat variant tied on a size 22 Partridge midge supreme
Griffiths gnat tied on a size 24 Partridge midge supreme
I have also been messing around with some of Joeseph Ludkin's Reel wings; the results are pleasing.

I used the brassy dun cape for this winged klink


The same as the klink above but tied on a Tiemco BL100
The hook shank has been kinked at the thorax
And to finish off a hare's ear jingler using the natural barred dun cape.

A scruffy, impressionistic dry; just the thing for early season trouting

Saturday 13 December 2014

If you're a hackle tart...

...Collins capes can now be bought in the UK.

I may be one of the first people who has bought Collins capes from the only UK stockist. I have always been a bit of a hackle tart, but choices in the UK are limited to the main hackle producers - Whiting, Metz, Keogh and our own home producer Chevron. There's nothing wrong with what is available of course although some people may take offence to the prices charged but quality comes at a price.

Anyone that knows me well will know that I love hackle! I can't help but buy capes in a myriad of colours, some only so slightly different to others I already have. I'm sure I'm not alone in having this weakness. I have wanted to own a few Collins capes because of the quality of the natural colours available. I have a fondness for dun coloured capes and the ones I've received from Funky Flytying are some of the best I have come across.

Although only a few colours are listed on the Funky website a quick chat with Toby saw three natural dun, a dyed dun, barred ginger and a grizzly cape delivered to me. I've taken a few quick snaps just to show them off although I haven't as yet used them I really looking forward to trying them out.

First up are a medium brown dun and a smokey dun.


A close up of the smokey dun.


And the medium brown dun.


These are a natural barred dun and a dyed barred dun.


Close up of the natural barred dun.


And the dyed barred dun.


The quality of the grizzle and the barred ginger is as good as any I've seen.


All the capes are grade 3 and cost £30 which is great value in my eyes. They will tie down to 20 with the main bulk of sizing being 12-16.


If there is anything specific you're after send Toby a PM I think you'll be pleasantly surprised with these capes, especially at the price. You can find the capes here.

Monday 27 October 2014

Utah Killer Bug SBS

Utah Killer Bug Materials - Just Two
The materials you will need for the Utah Killer Bug
The grayling population in my club river is sparse and localised, as such it is hard to go out for a day and specifically target them. When I do fish for them, the Utah Killer bug catches it's fair share. It will be on my leader somewhere, but invariably it occupies the middle dropper.

UKB Step 1

To tie my version of the UKB you need only two materials; 0.20mm pink wire and oyster coloured Jamieson's of Shetland Spindrift wool. I have found the best size for this fly is 12, although I do tie them in 14's.

UKB Step 2

Use a drop of superglue to sucure the wire underbody and start wrapping the wire at around the two-thirds point back from the eye.

UKB Step 3

Wind the wire in touching turns to the eye. Take one long wrap back so the wire is at the one-third point on the hook shank and reccomence the touching turns back around the bend. Once you have wrapped a second layer of wire covering the middle section of the shank, make another long wrap to the starting point of the wire and trap down the tag end. Helicopter the tag end off and make another couple of turns of wire and leave; the wire will not unravel. The underbody should appear to taper up from the eye to a thicker middle and taper back down at the end of the body.

UKB Step 4


UKB Step 5

Tie in a length of wool starting where the second layer of wire ends - keep hold of the tag end - wrap the wool to the eye, then wind the wool back towards the bend so there are two layers of wool. When you reach the tag end of wool trap it with one or two wraps of wool and cut off the excess. Continue to where the wire has been left and tie off the wool with four or five turns of wire working back towards the eye. Trim the remaining wool and cut the wire close; a drop of superglue on the wire will keep it from coming undone.

A quick simple tie and very effective. For more weight wrap a layer or two of adhesive lead and wind a single layer of wire starting at the eye.

The fly transforms into a fantastic subtle pink colour, that appears translucent when wet.

UKB

UKB - Wet

Monday 20 October 2014

Gammarus


I'm so far behind the times. Many new things appeared in the fly tying scene while I was in hiatus, UV resin being one of them. It's fair to say the use of UV cured resin has been revolutionary, almost gone are the days of multiple coats of varnish and mixing up small amounts of sticky short lived
epoxy resin. Ask ten people which is the best resin available and you'll probably get as many answers. Having read some good reviews about bug off, I bought a bottle of lite and standard, along with a UV laser pen to cure it with.

The first fly I have tried the resin on is a gammarus shrimp pattern. When I tied this fly in the past, it would take two or three coats of Sally Hansen Mega Shine nail varnish, and the associated drying times between coats made it time consuming. The fly itself is straight-forward once you know the sequence and using UV resin speeds the whole process up considerably.

An older style shrimp, the lead foundation is not so exaggerated tied this way
Another change is the lead foundation. Before I would use thin strips of adhesive lead sheet, tying on top of the hook shank reducing the length as you built it up to give a hump shape and then laterally flatten with pliers to keep the profile thin. Taking inspiration from the Slovenian gammies - again a recent discovery - I have used a crescent shaped piece of lead sheeting. This produces a more exaggerated hump with steeper tapers at the ends, I really like the profile and of course the flies are substantially heavier too.


You will find it easier to make a number of lead crescents in one go before you begin to tie the flies. I bought a quantity of lead sheet which has a thickness of around 1mm. Using stout scissors, roughly cut the shape and flatten it slightly with a hammer. You are looking to reduce the thickness of the lead to approximately the same as the hook shank, this will also make the lead easier to work with. I use a Stanley blade and smaller scissors to reshape the crescent, you will also find it helpful to use something curved such as scissor handles to bend the lead so the curve at the bottom of the crescent matches the shape of the hook. Mark a set of groves along the whole of the top side of the lead so the thread wraps can grip and hold it in place. Once you have made a number of lead pieces you can begin to tie the fly.


I have used a 55D GSP thread to tie this fly with. Lay a foundation of thread wraps along the hook shank where the lead will sit. You will find it easier to tie the lead crescent by starting in the middle of the hook. Tie down the lead keeping tension on and wrapping over all of the lead piece leave he thread at the end of the shank and secure with a two turn whip finish. Turn the hook upside down and add superglue along the hook shank, then allow to dry.


I have used a Whiting hen hackle for the legs. A white hackle allows you to colour the legs the same as the shrimp or leave it natural. Tie in the hackle and a length of nymph skin - cut the nymph skin at an angle and secure with the long edge uppermost. You can colour the nymph skin on both sides prior to tying in or once the fly is finished. You will get a stronger colour if you do this before it is wrapped. A coat of tippex over the thread wraps and lead provide an undercoat so only the colour of the nymph skin is visible.


Pull the nymph skin to almost full tension and wrap making a segmented body, you can ease off the tension around the middle of the fly to make the segments more pronounced. The fly will be neater if the nymph skin is pulled as far as it will go as you get to the hook eye. Using another bobbin loaded with any thread, tie in and catch the nymph skin at the eye with several wraps of thread. With the nymph skin pulled tightly, there will be no bulky tying off point. Whip finish and cut off both tag ends of the thread and again with full tension cut off the remaining nymph skin.


The view from above showing it's slim profile.
Take hold of the original bobbin of thread and twist to tighten up the thread. Follow the edge of the nymph skin securing the hackle along the bottom of the fly. You will find it easier to follow the edge by turning the fly as you wrap. Tie off the hackle and whip finish, the fly is almost complete.


Colour the fly, even if you have already coloured the nymph skin, as this will colour the thread ribbing; the thread turns a darker shade further enhancing the segmented effect.


Once the permanent marker has dried coat the fly with UV resin. I have used the lite version, applying the resin to the fly whilst it is turned upside down. This will stop the resin from flowing into the hackle and help enhanced the shrimp shape.


As for bug off UV resin, I wholeheartedly recommend this resin, I have used both and they both dry fully, with no tackiness, in a matter of seconds using the laser pen torch.