I'm so far behind the times. Many new things appeared in the fly tying scene while I was in hiatus, UV resin being one of them. It's fair to say the use of UV cured resin has been revolutionary, almost gone are the days of multiple coats of varnish and mixing up small amounts of sticky short lived
epoxy resin. Ask ten people which is the best resin available and you'll probably get as many answers. Having read some good reviews about bug off, I bought a bottle of lite and standard, along with a UV laser pen to cure it with.
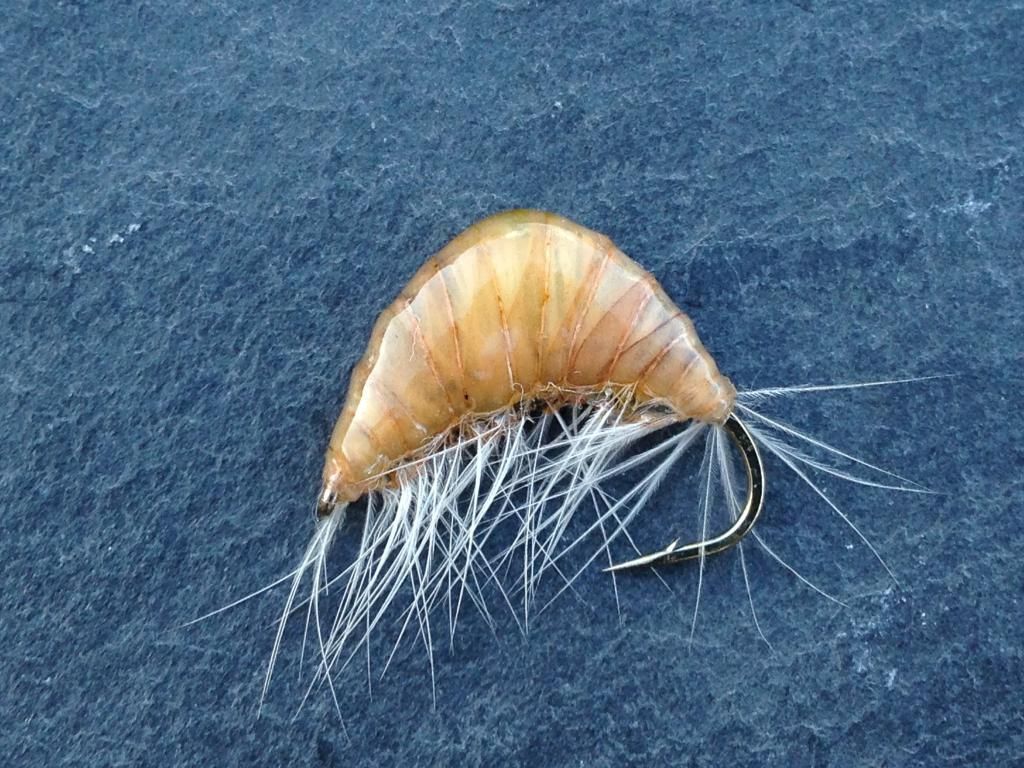
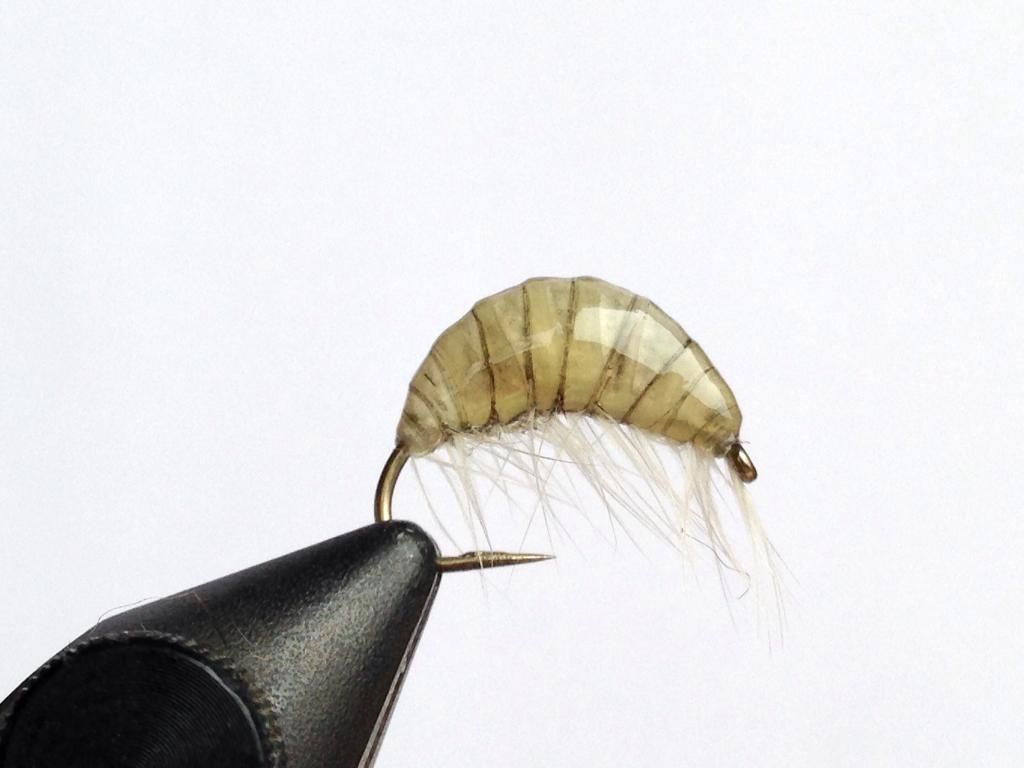
The first fly I have tried the resin on is a gammarus shrimp pattern. When I tied this fly in the past, it would take two or three coats of Sally Hansen Mega Shine nail varnish, and the associated drying times between coats made it time consuming. The fly itself is straight-forward once you know the sequence and using UV resin speeds the whole process up considerably.
 |
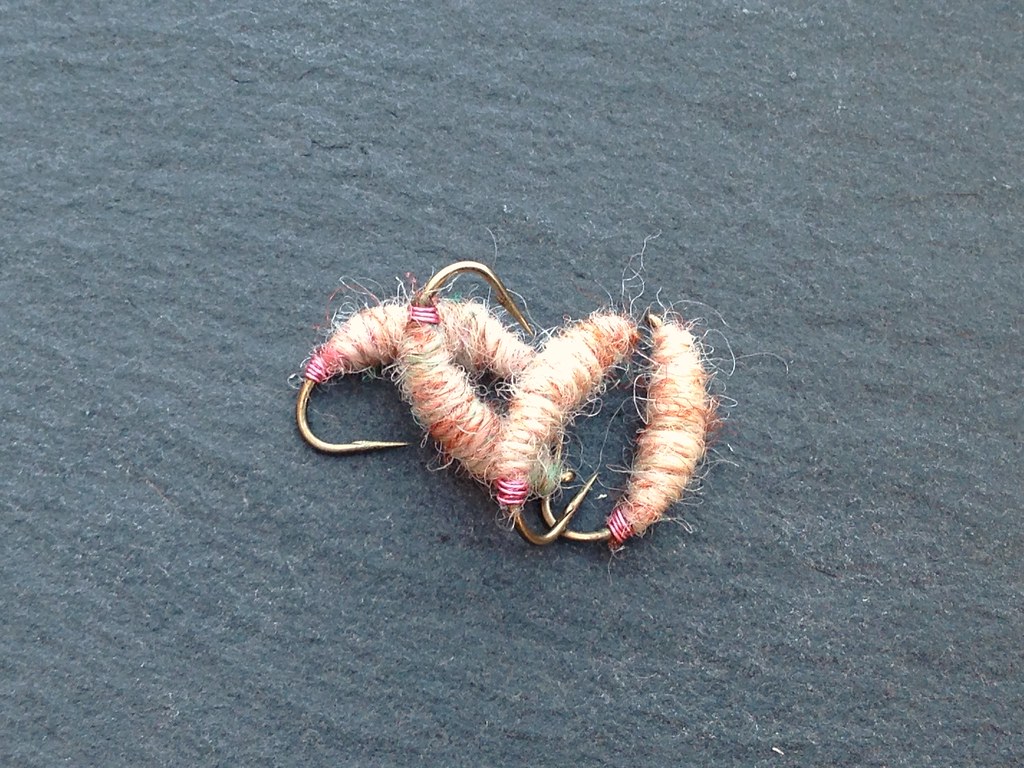
| An older style shrimp, the lead foundation is not so exaggerated tied this way |
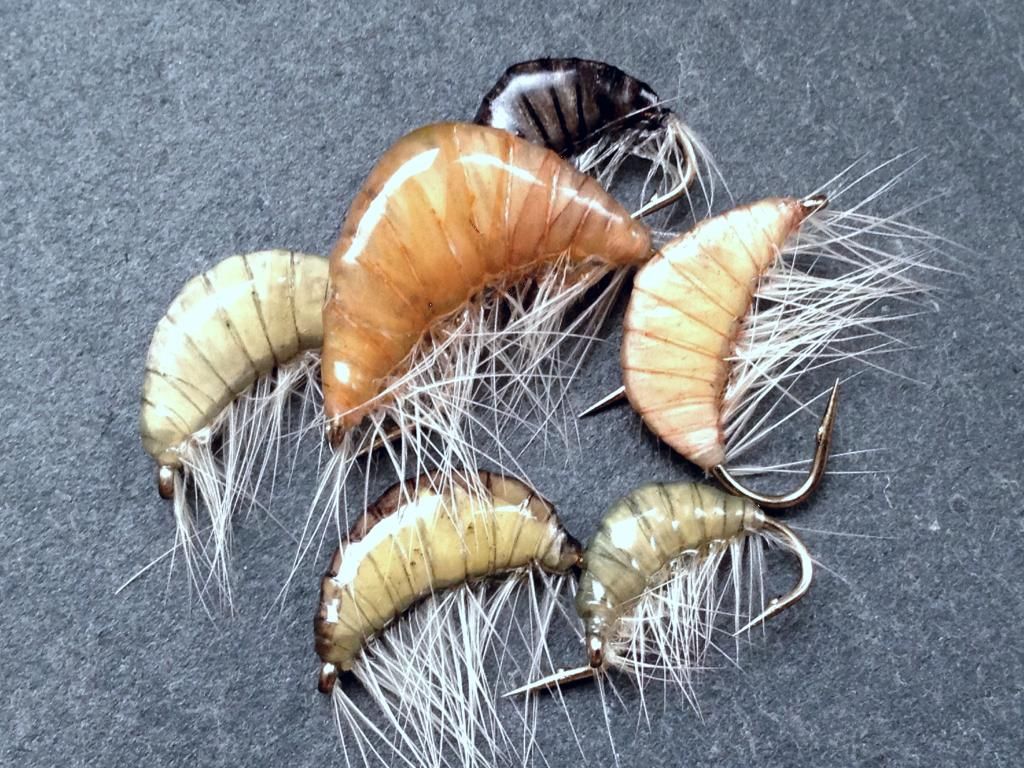
Another change is the lead foundation. Before I would use thin strips of adhesive lead sheet, tying on top of the hook shank reducing the length as you built it up to give a hump shape and then laterally flatten with pliers to keep the profile thin. Taking inspiration from the Slovenian gammies - again a recent discovery - I have used a crescent shaped piece of lead sheeting. This produces a more exaggerated hump with steeper tapers at the ends, I really like the profile and of course the flies are substantially heavier too.
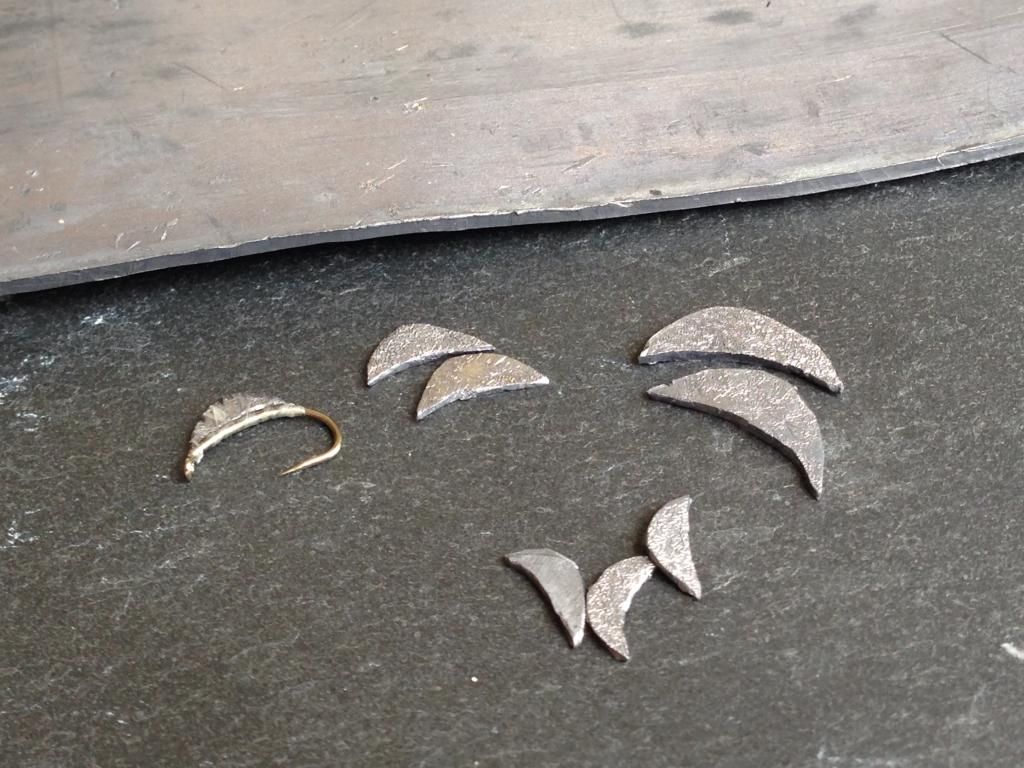
You will find it easier to make a number of lead crescents in one go before you begin to tie the flies. I bought a quantity of lead sheet which has a thickness of around 1mm. Using stout scissors, roughly cut the shape and flatten it slightly with a hammer. You are looking to reduce the thickness of the lead to approximately the same as the hook shank, this will also make the lead easier to work with. I use a Stanley blade and smaller scissors to reshape the crescent, you will also find it helpful to use something curved such as scissor handles to bend the lead so the curve at the bottom of the crescent matches the shape of the hook. Mark a set of groves along the whole of the top side of the lead so the thread wraps can grip and hold it in place. Once you have made a number of lead pieces you can begin to tie the fly.
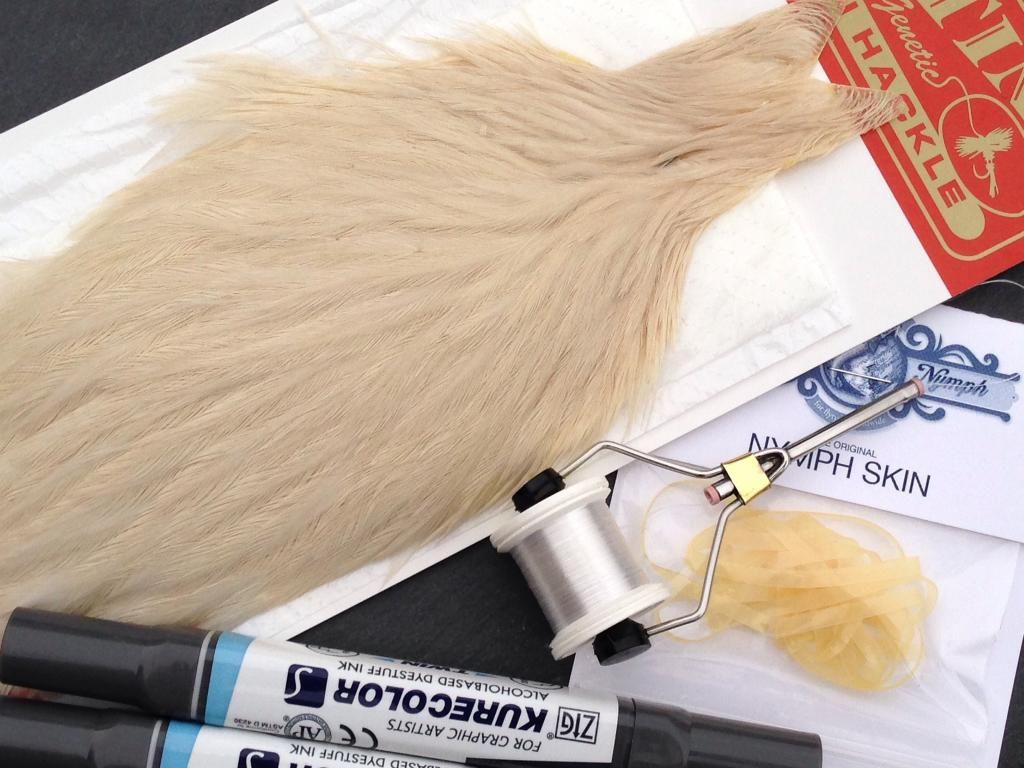
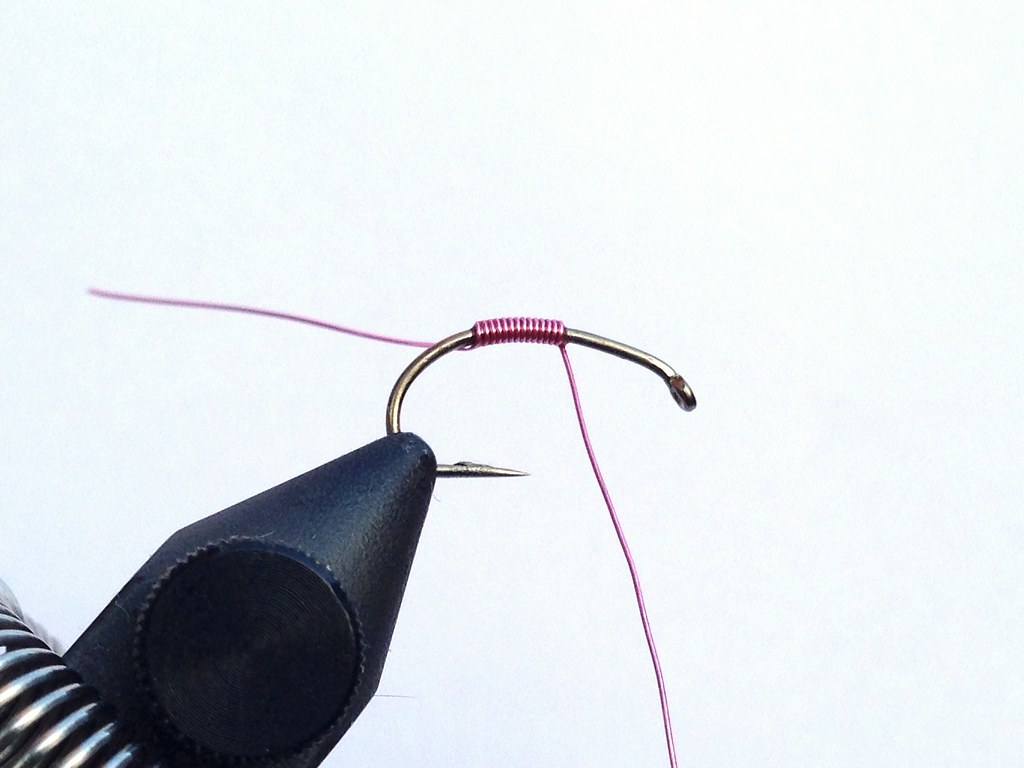
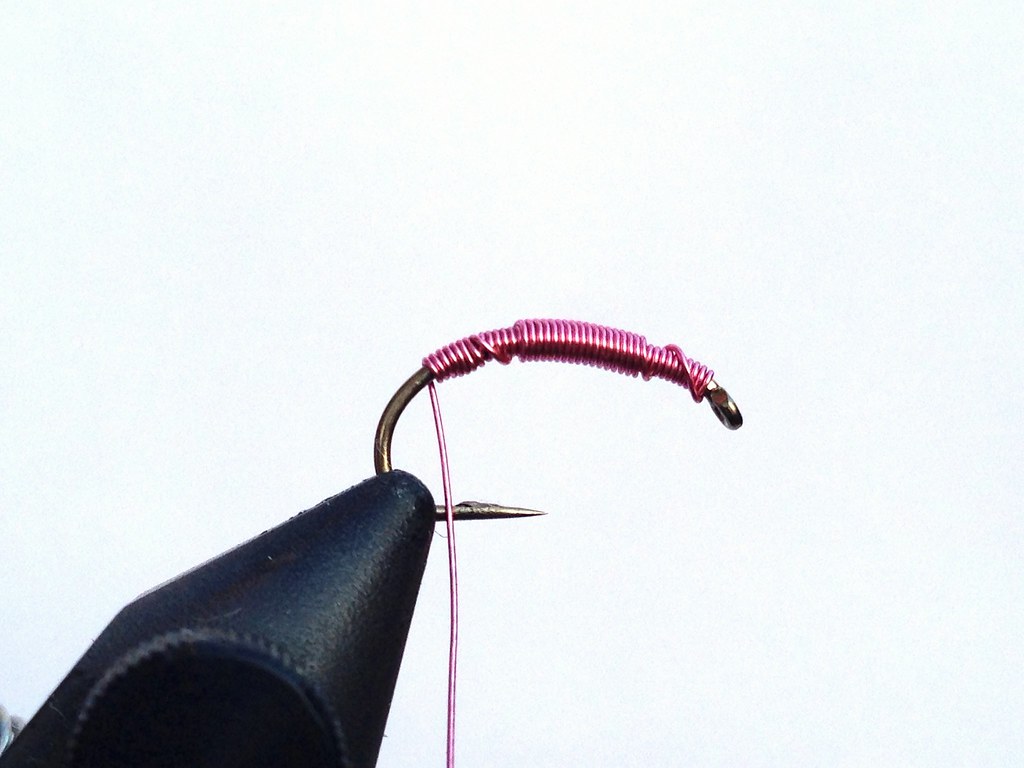
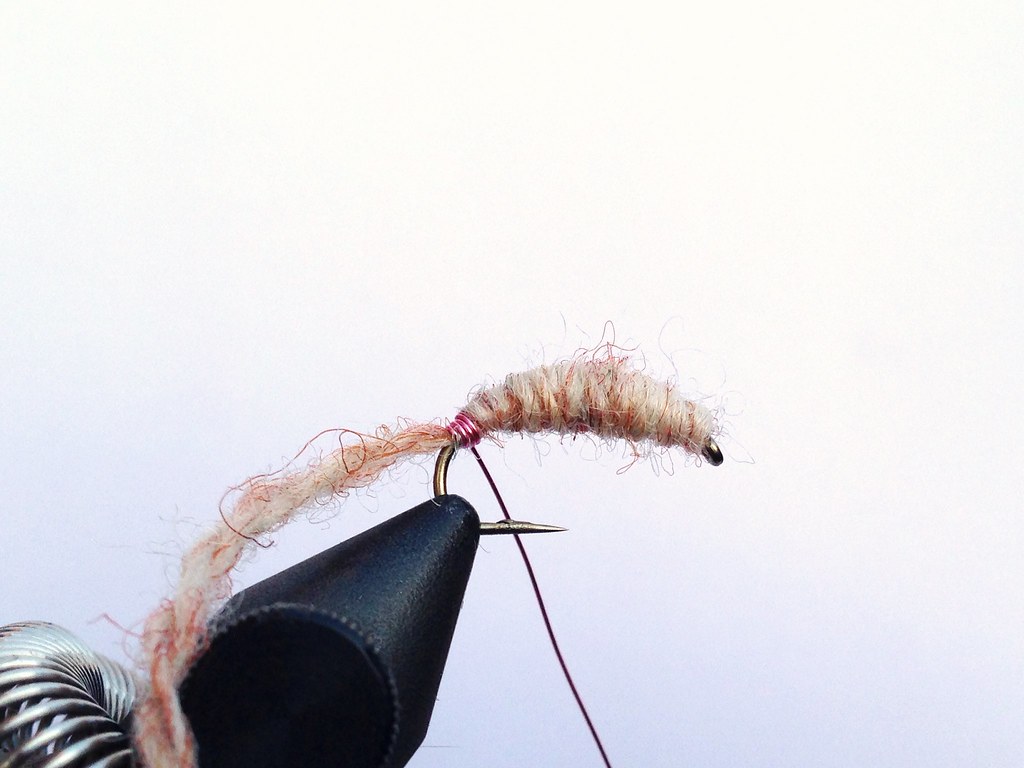
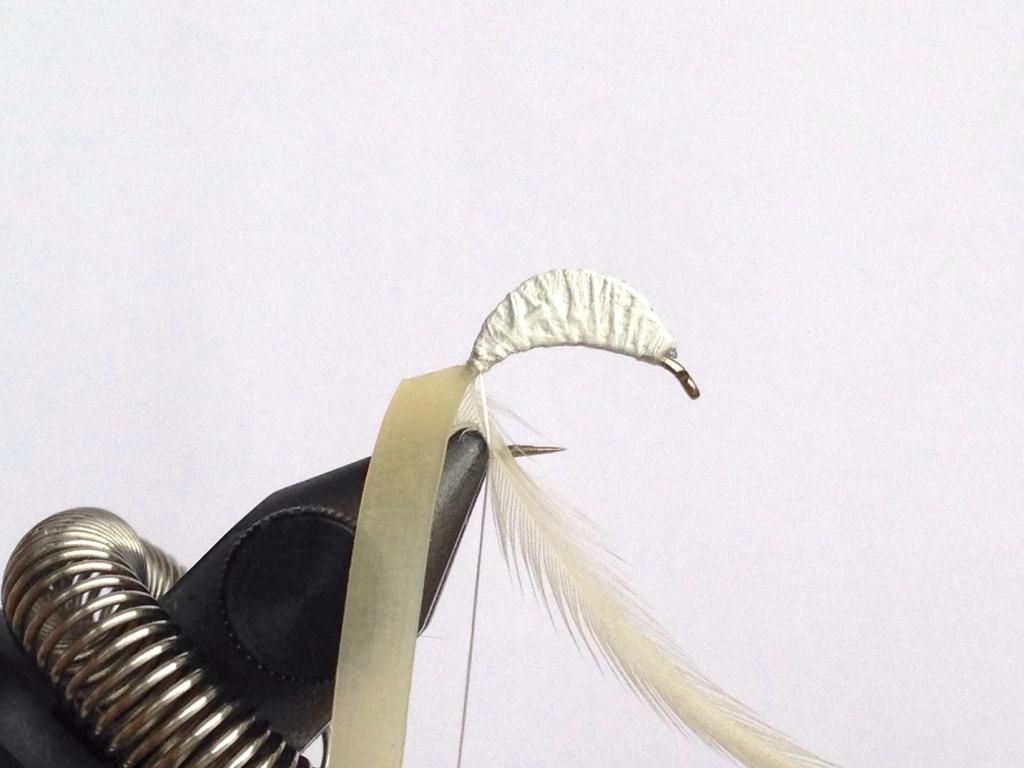
I have used a 55D GSP thread to tie this fly with. Lay a foundation of thread wraps along the hook shank where the lead will sit. You will find it easier to tie the lead crescent by starting in the middle of the hook. Tie down the lead keeping tension on and wrapping over all of the lead piece leave he thread at the end of the shank and secure with a two turn whip finish. Turn the hook upside down and add superglue along the hook shank, then allow to dry.
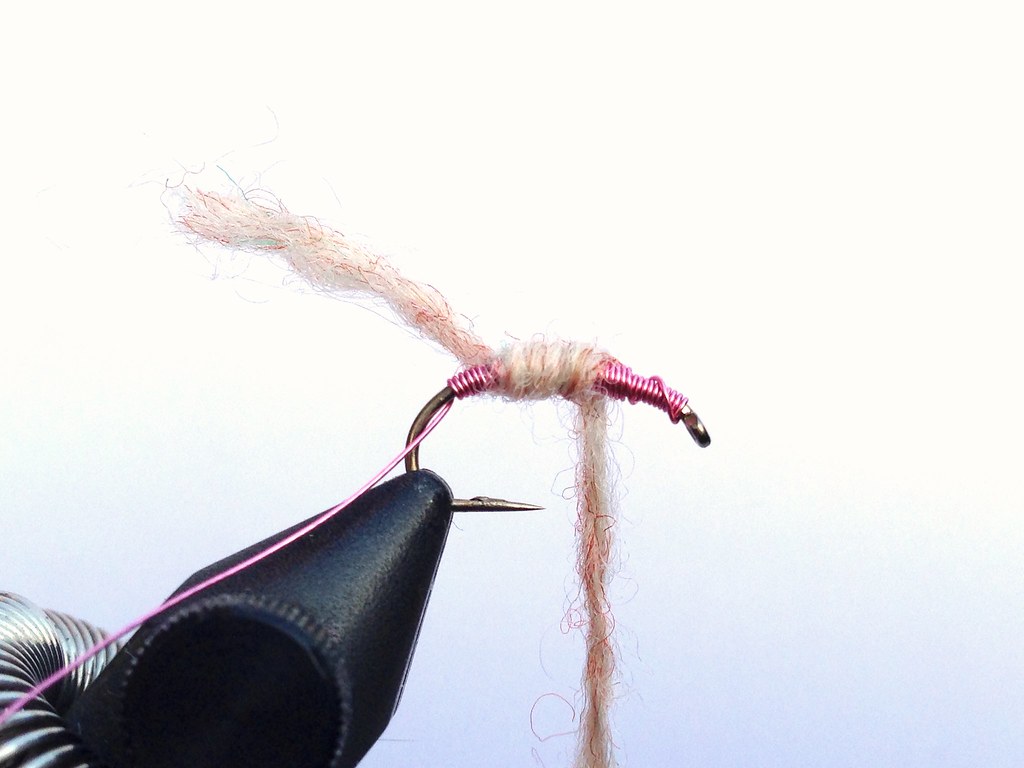
I have used a Whiting hen hackle for the legs. A white hackle allows you to colour the legs the same as the shrimp or leave it natural. Tie in the hackle and a length of nymph skin - cut the nymph skin at an angle and secure with the long edge uppermost. You can colour the nymph skin on both sides prior to tying in or once the fly is finished. You will get a stronger colour if you do this before it is wrapped. A coat of tippex over the thread wraps and lead provide an undercoat so only the colour of the nymph skin is visible.

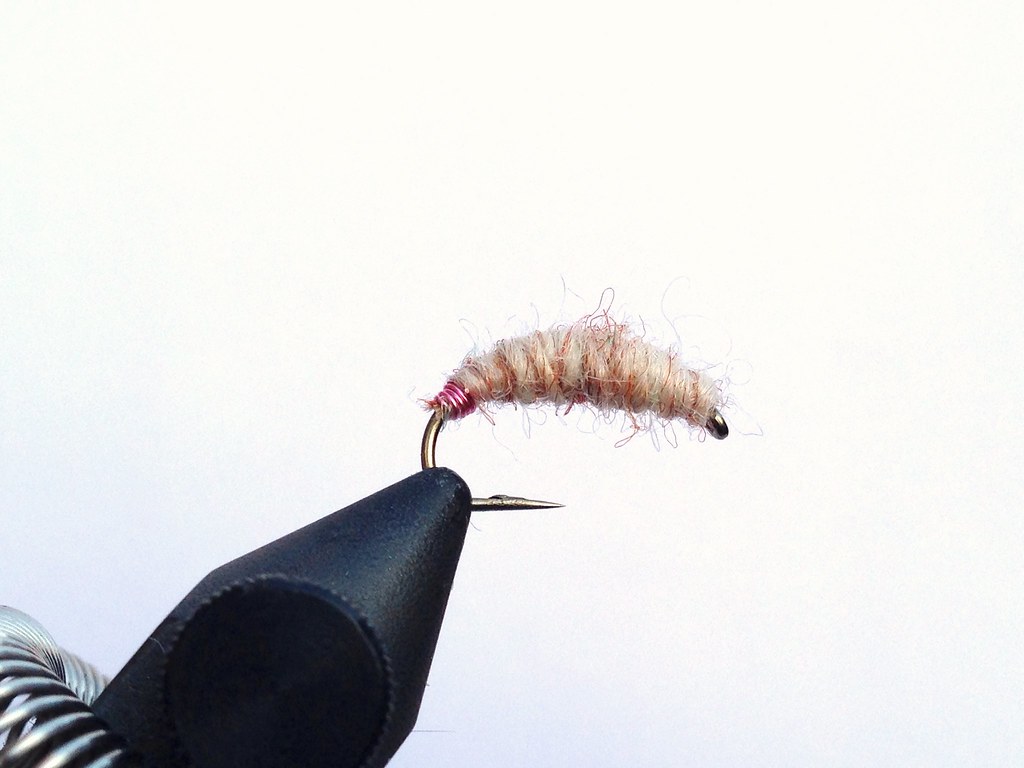
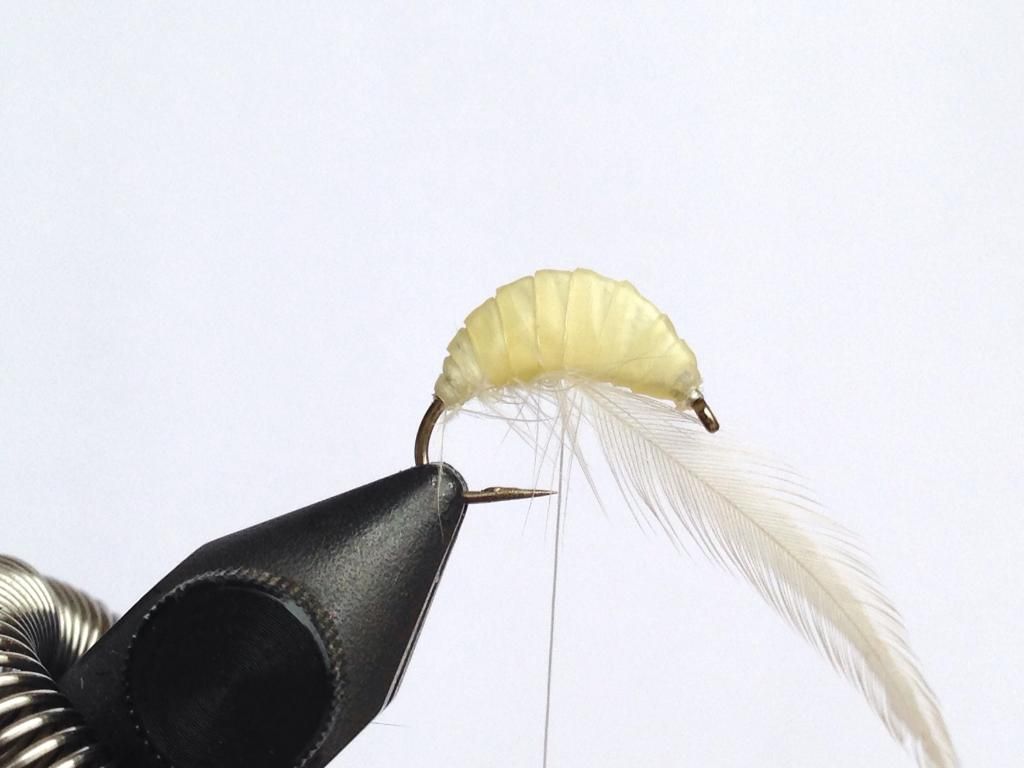
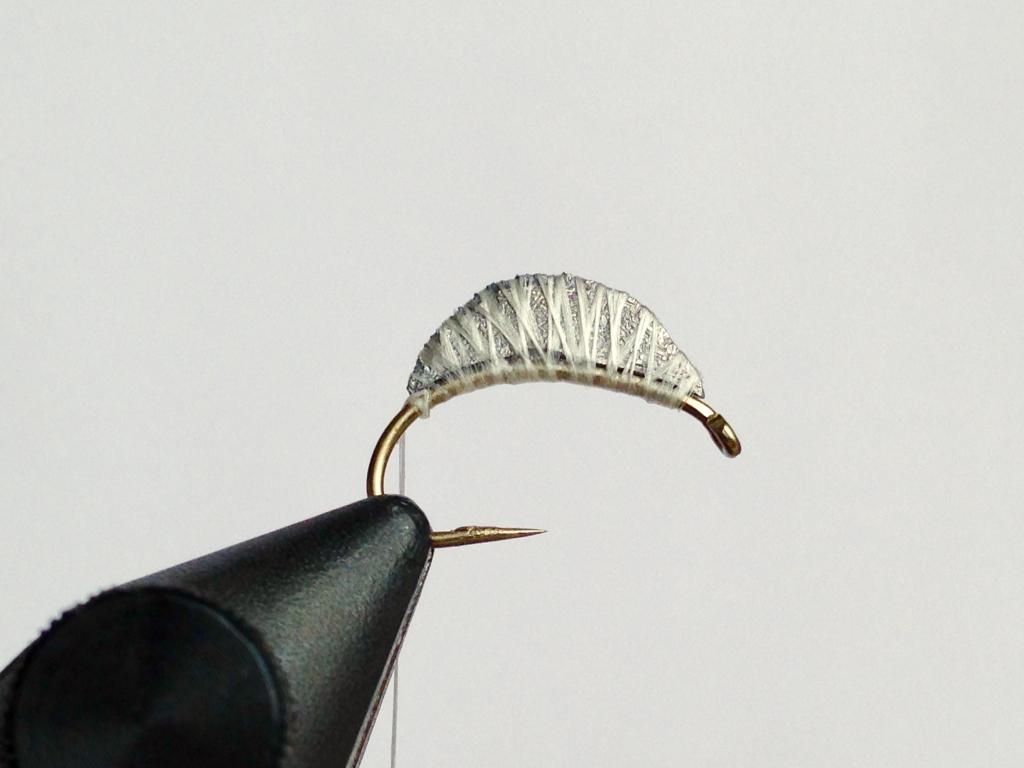
Pull the nymph skin to almost full tension and wrap making a segmented body, you can ease off the tension around the middle of the fly to make the segments more pronounced. The fly will be neater if the nymph skin is pulled as far as it will go as you get to the hook eye. Using another bobbin loaded with any thread, tie in and catch the nymph skin at the eye with several wraps of thread. With the nymph skin pulled tightly, there will be no bulky tying off point. Whip finish and cut off both tag ends of the thread and again with full tension cut off the remaining nymph skin.
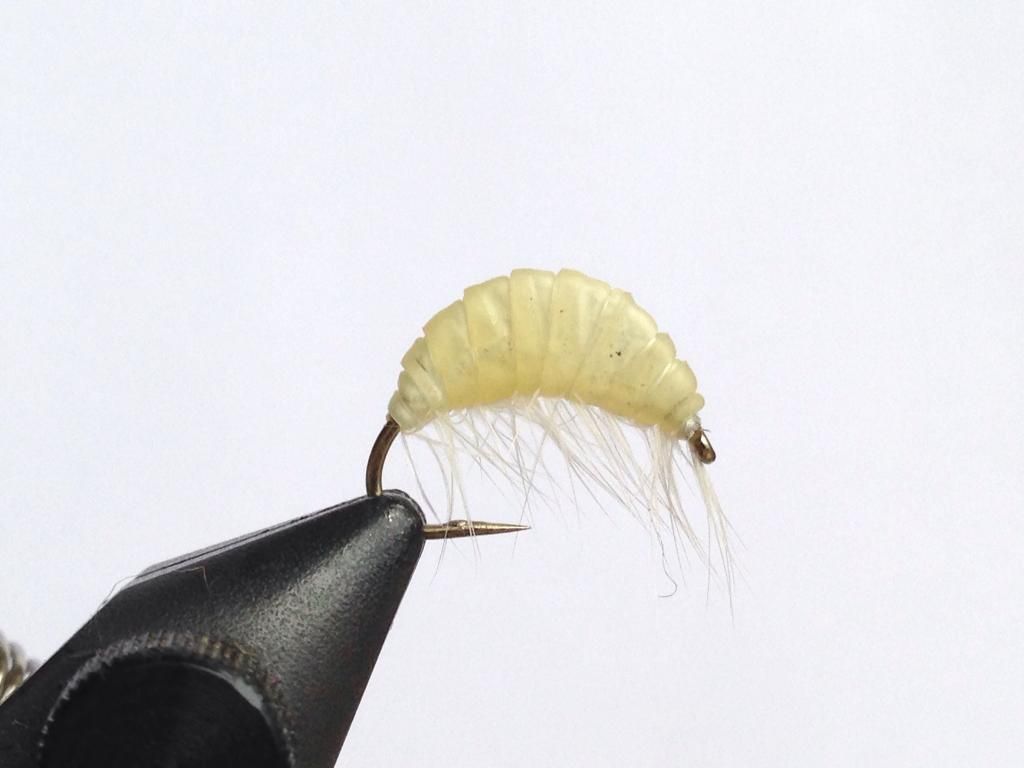
 |
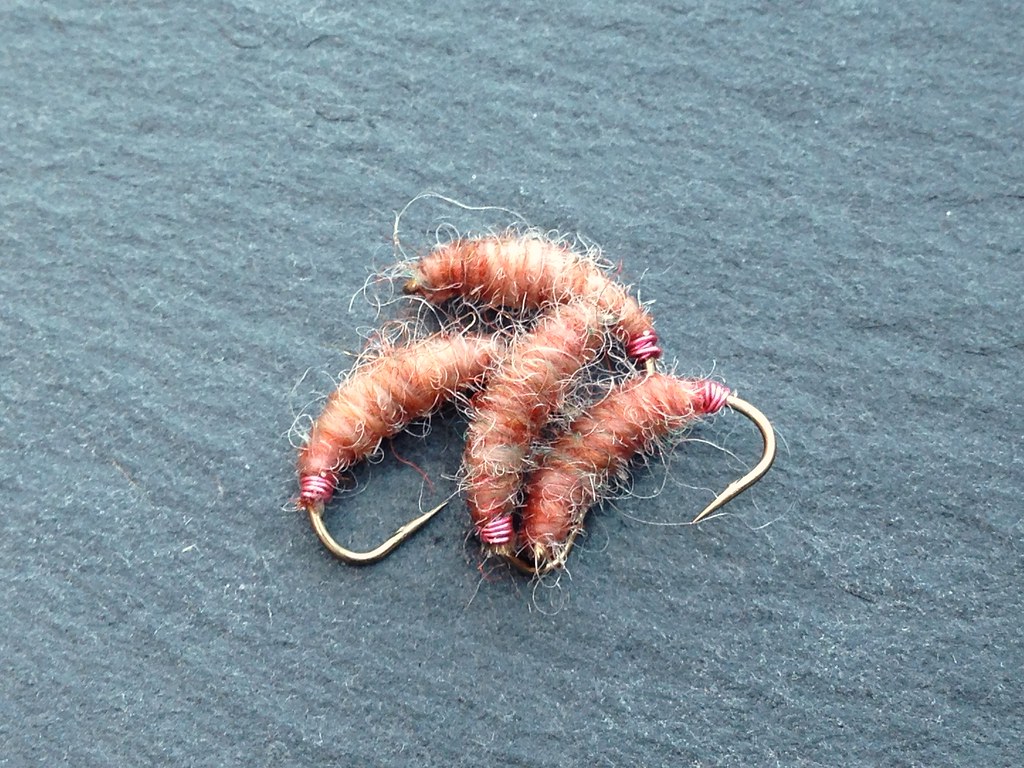
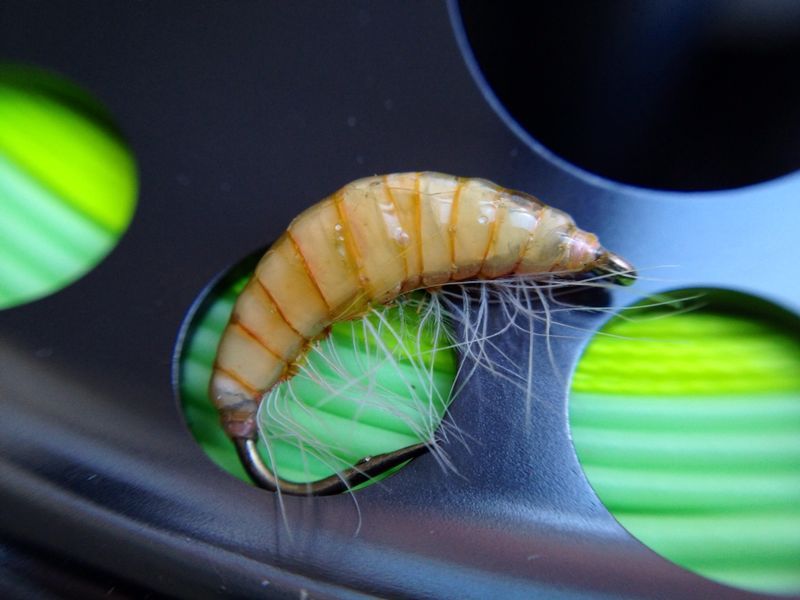
| The view from above showing it's slim profile. |
Take hold of the original bobbin of thread and twist to tighten up the thread. Follow the edge of the nymph skin securing the hackle along the bottom of the fly. You will find it easier to follow the edge by turning the fly as you wrap. Tie off the hackle and whip finish, the fly is almost complete.
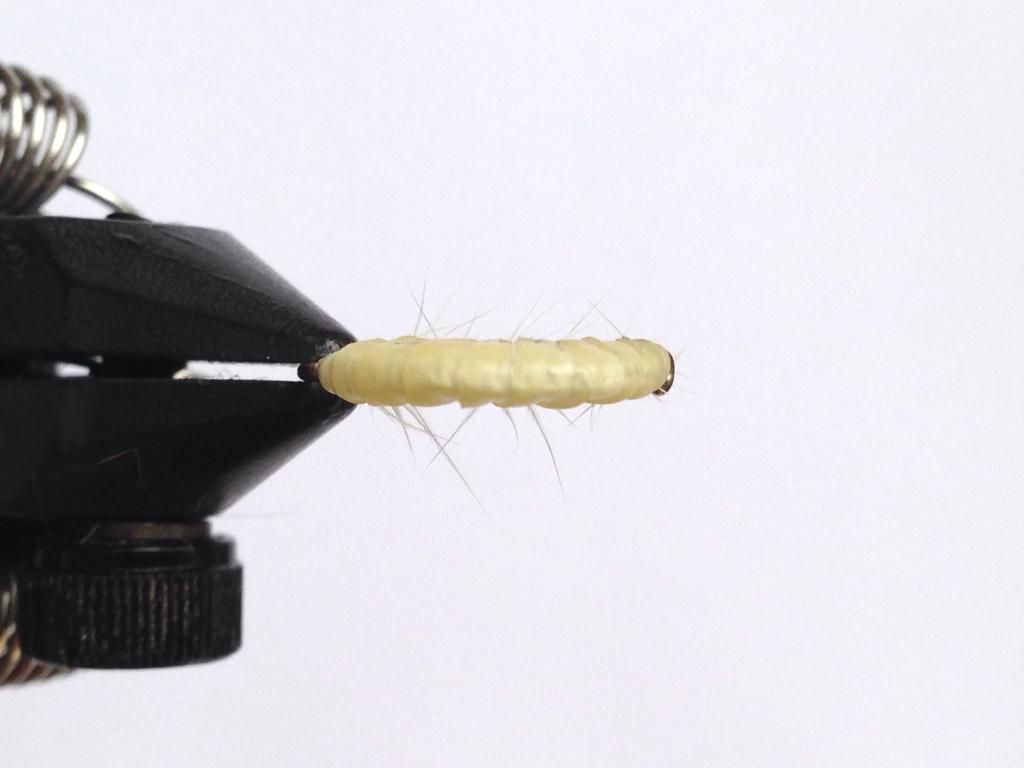
Colour the fly, even if you have already coloured the nymph skin, as this will colour the thread ribbing; the thread turns a darker shade further enhancing the segmented effect.
Once the permanent marker has dried coat the fly with UV resin. I have used the lite version, applying the resin to the fly whilst it is turned upside down. This will stop the resin from flowing into the hackle and help enhanced the shrimp shape.
As for bug off UV resin, I wholeheartedly recommend this resin, I have used both and they both dry fully, with no tackiness, in a matter of seconds using the laser pen torch.